Structuring Learning Expectations
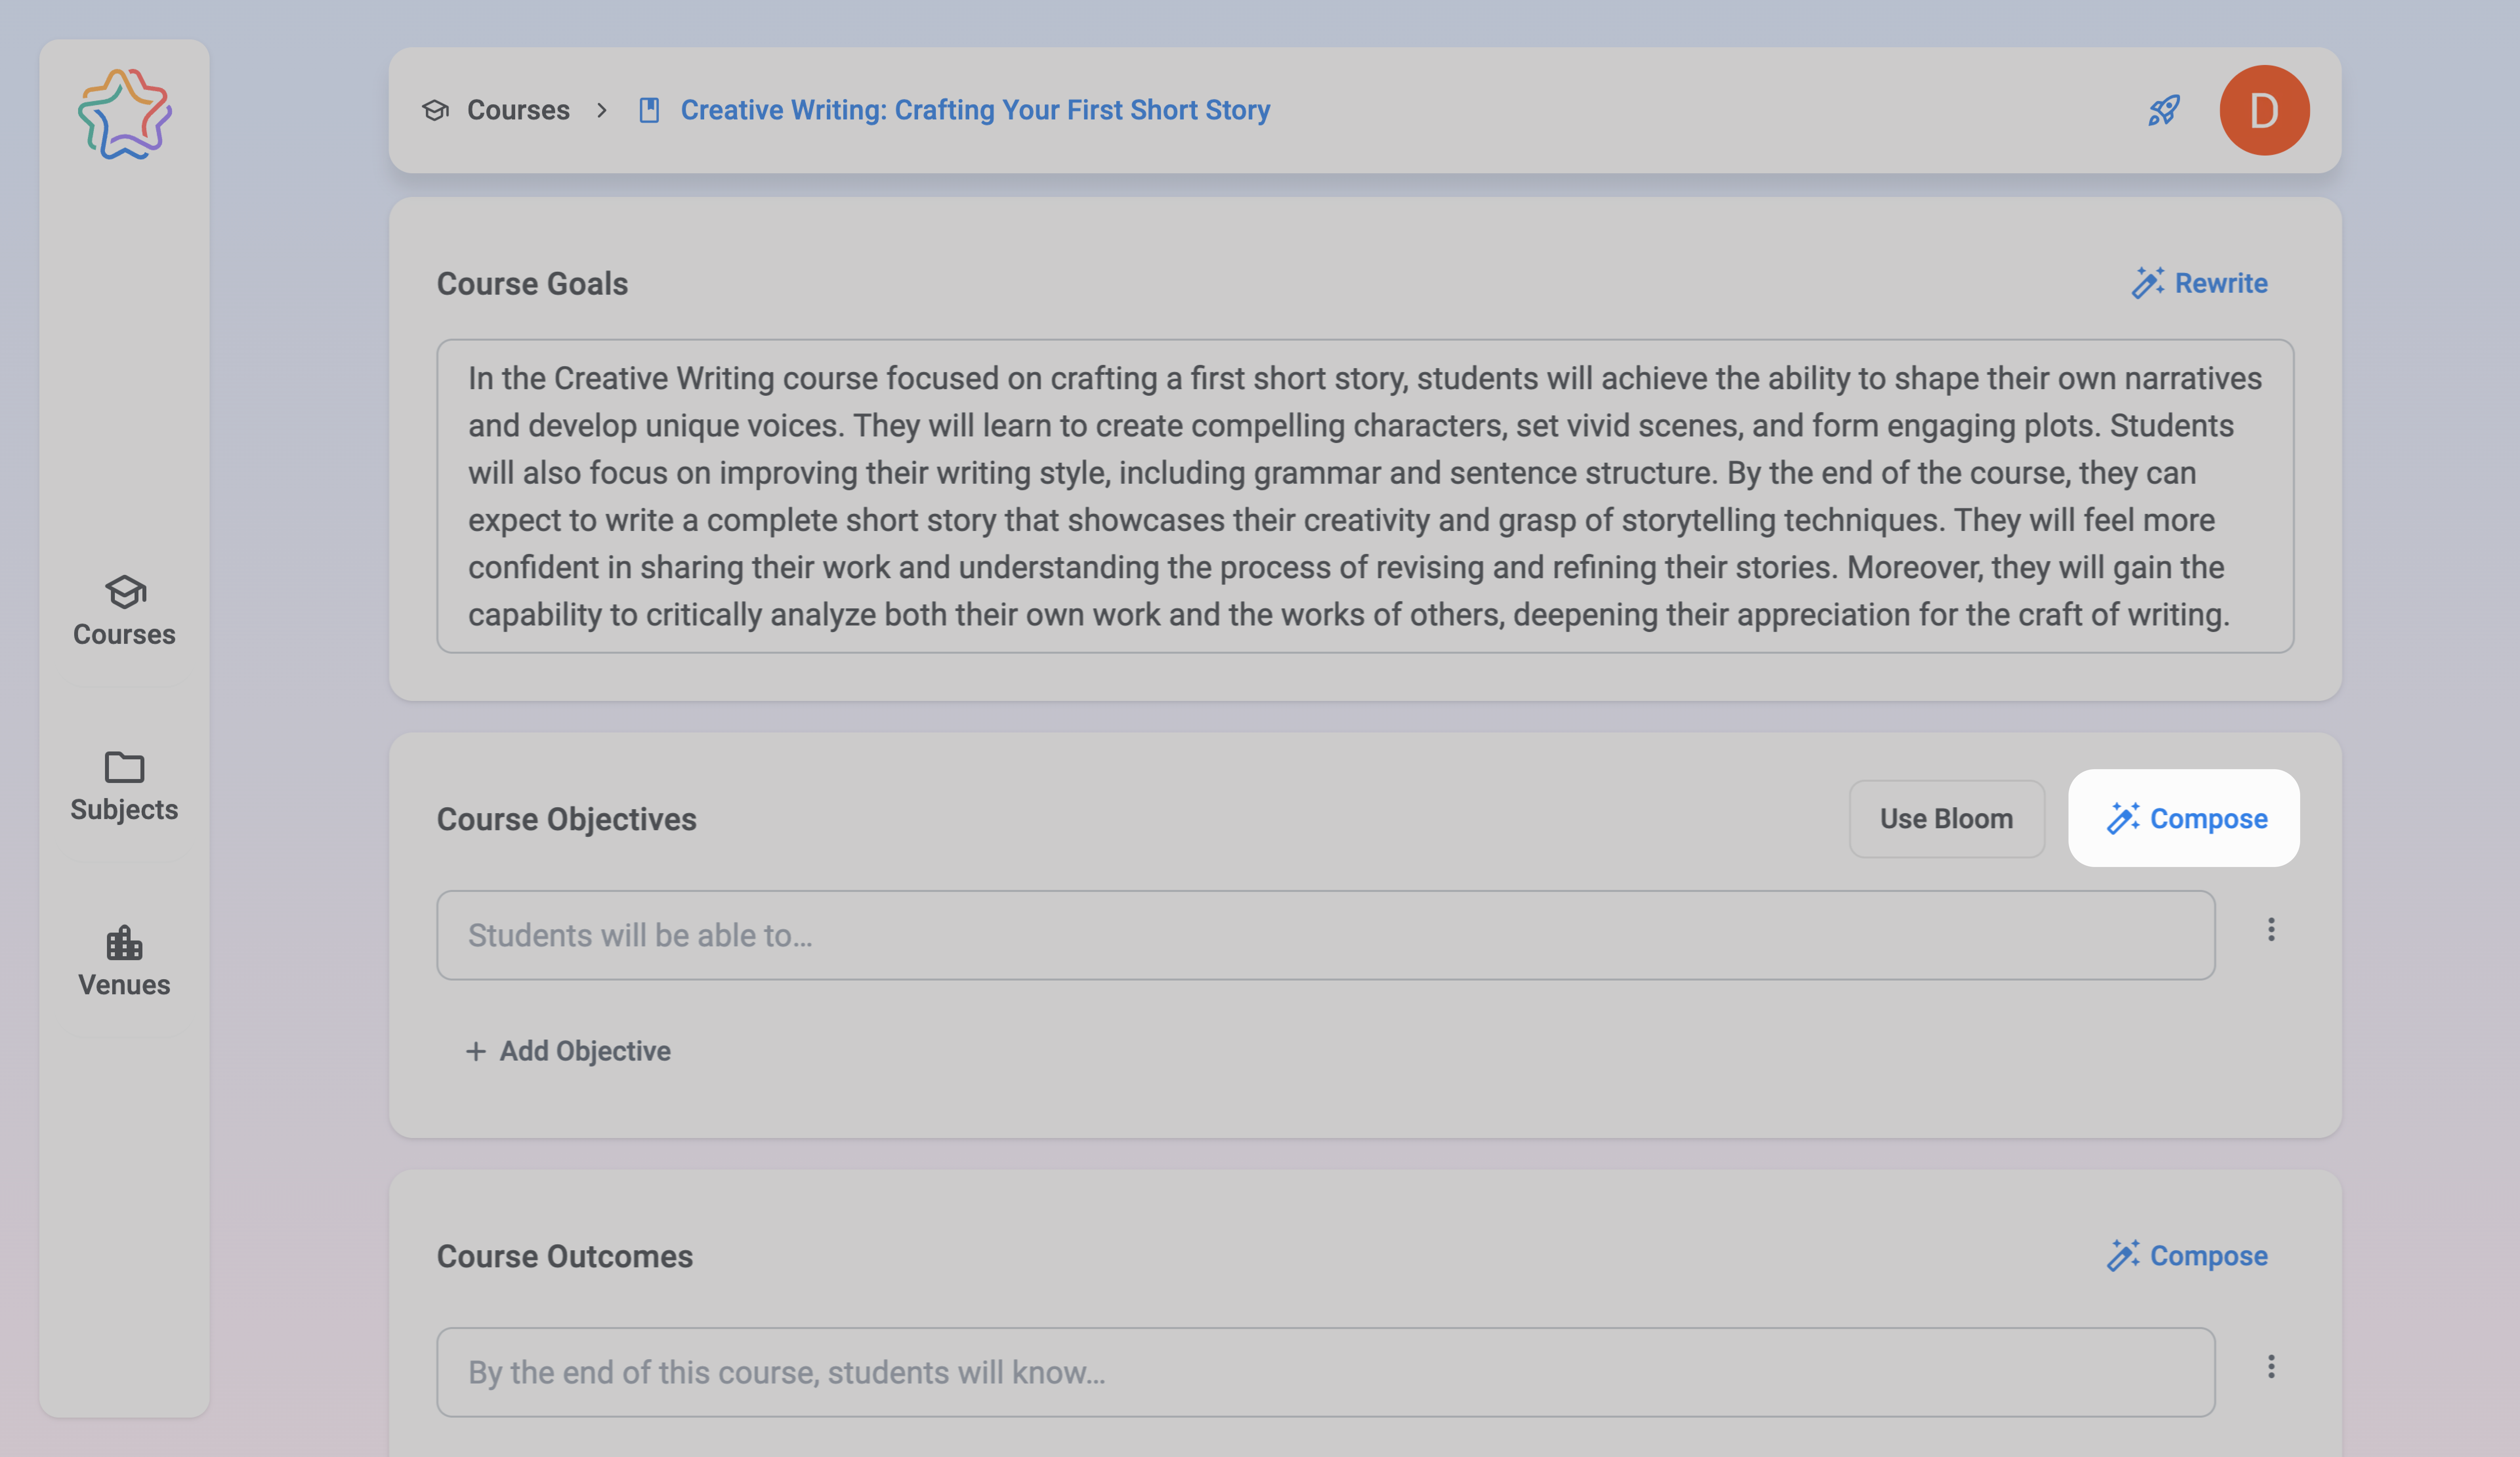
On the Goals page, you can define the learning objectives for your course by creating Course Goals, Course Objectives, and Course Outcomes. This guide will walk you through how to manually create these blocks or use AI to generate them automatically, helping you build a comprehensive and organized course plan.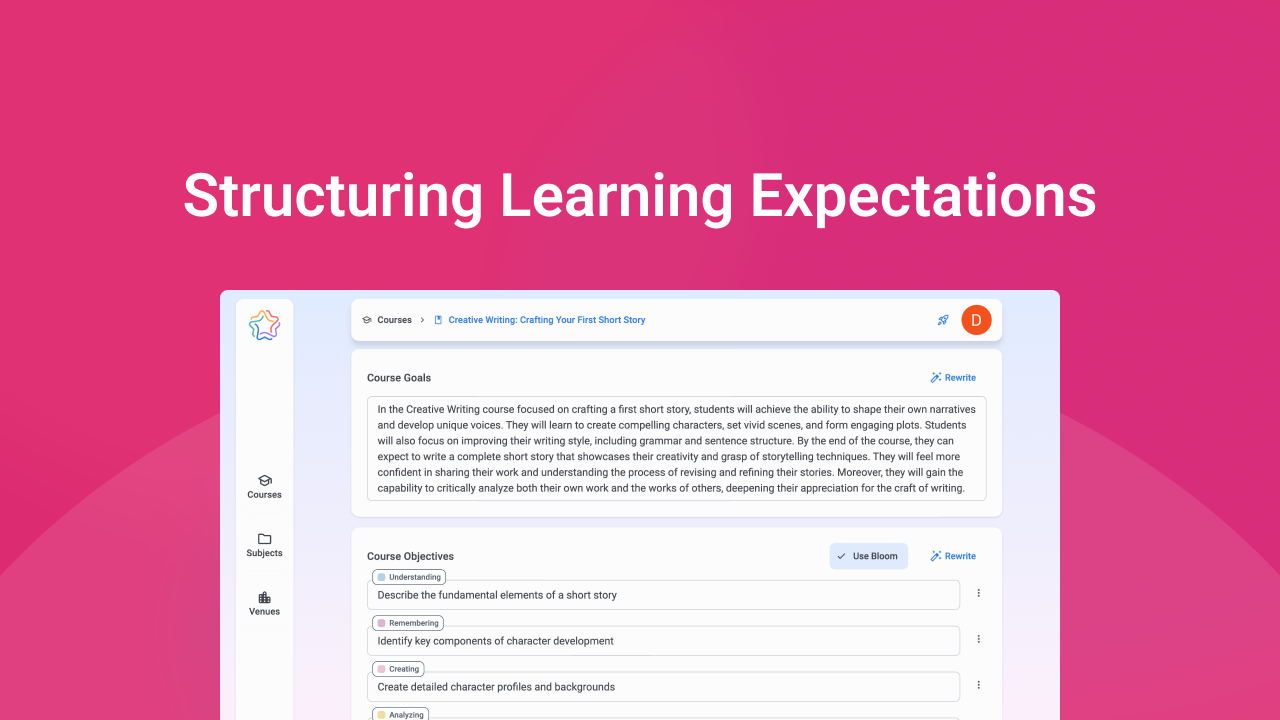
Step 1: Choose How to Create Learning Objectives
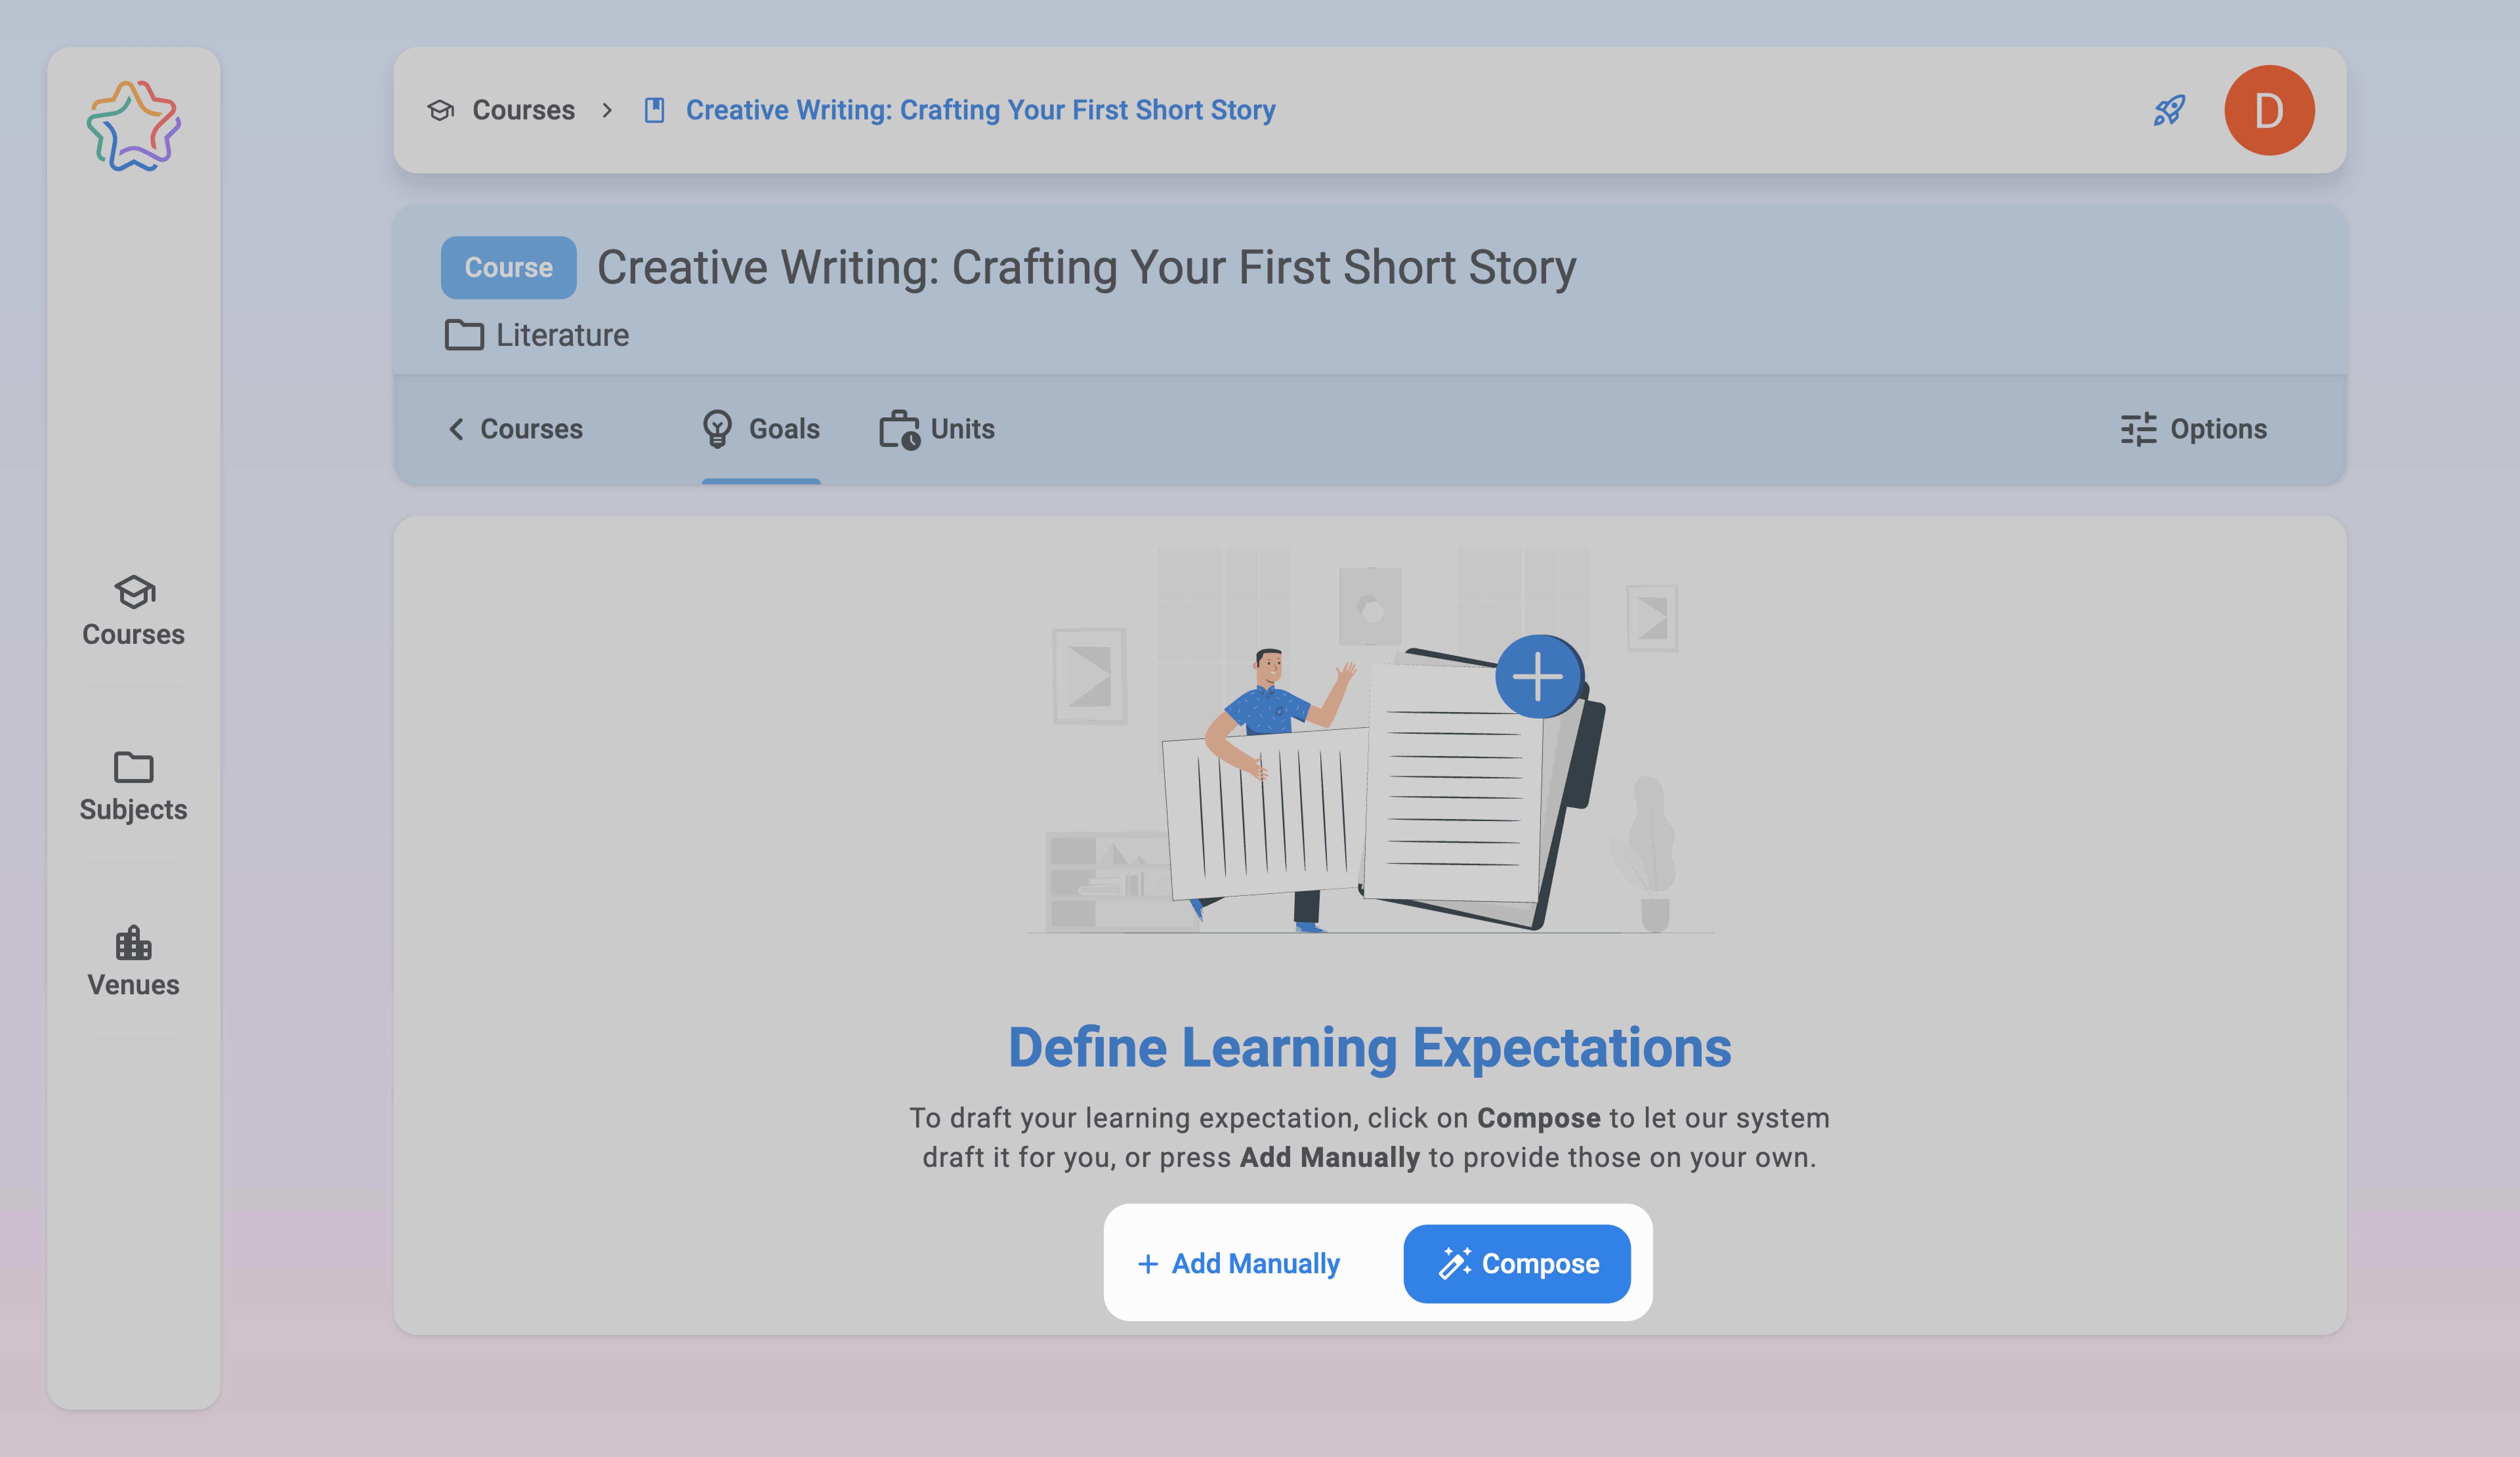
When you open the Goals page, you’ll find two main options for defining learning objectives:
- Compose button: Generate content for all three sections — Goals, Objectives, and Outcomes — in one step using AI.
- Add Manually button: Enter content for each section yourself, giving you full control over every detail.
AI Generation
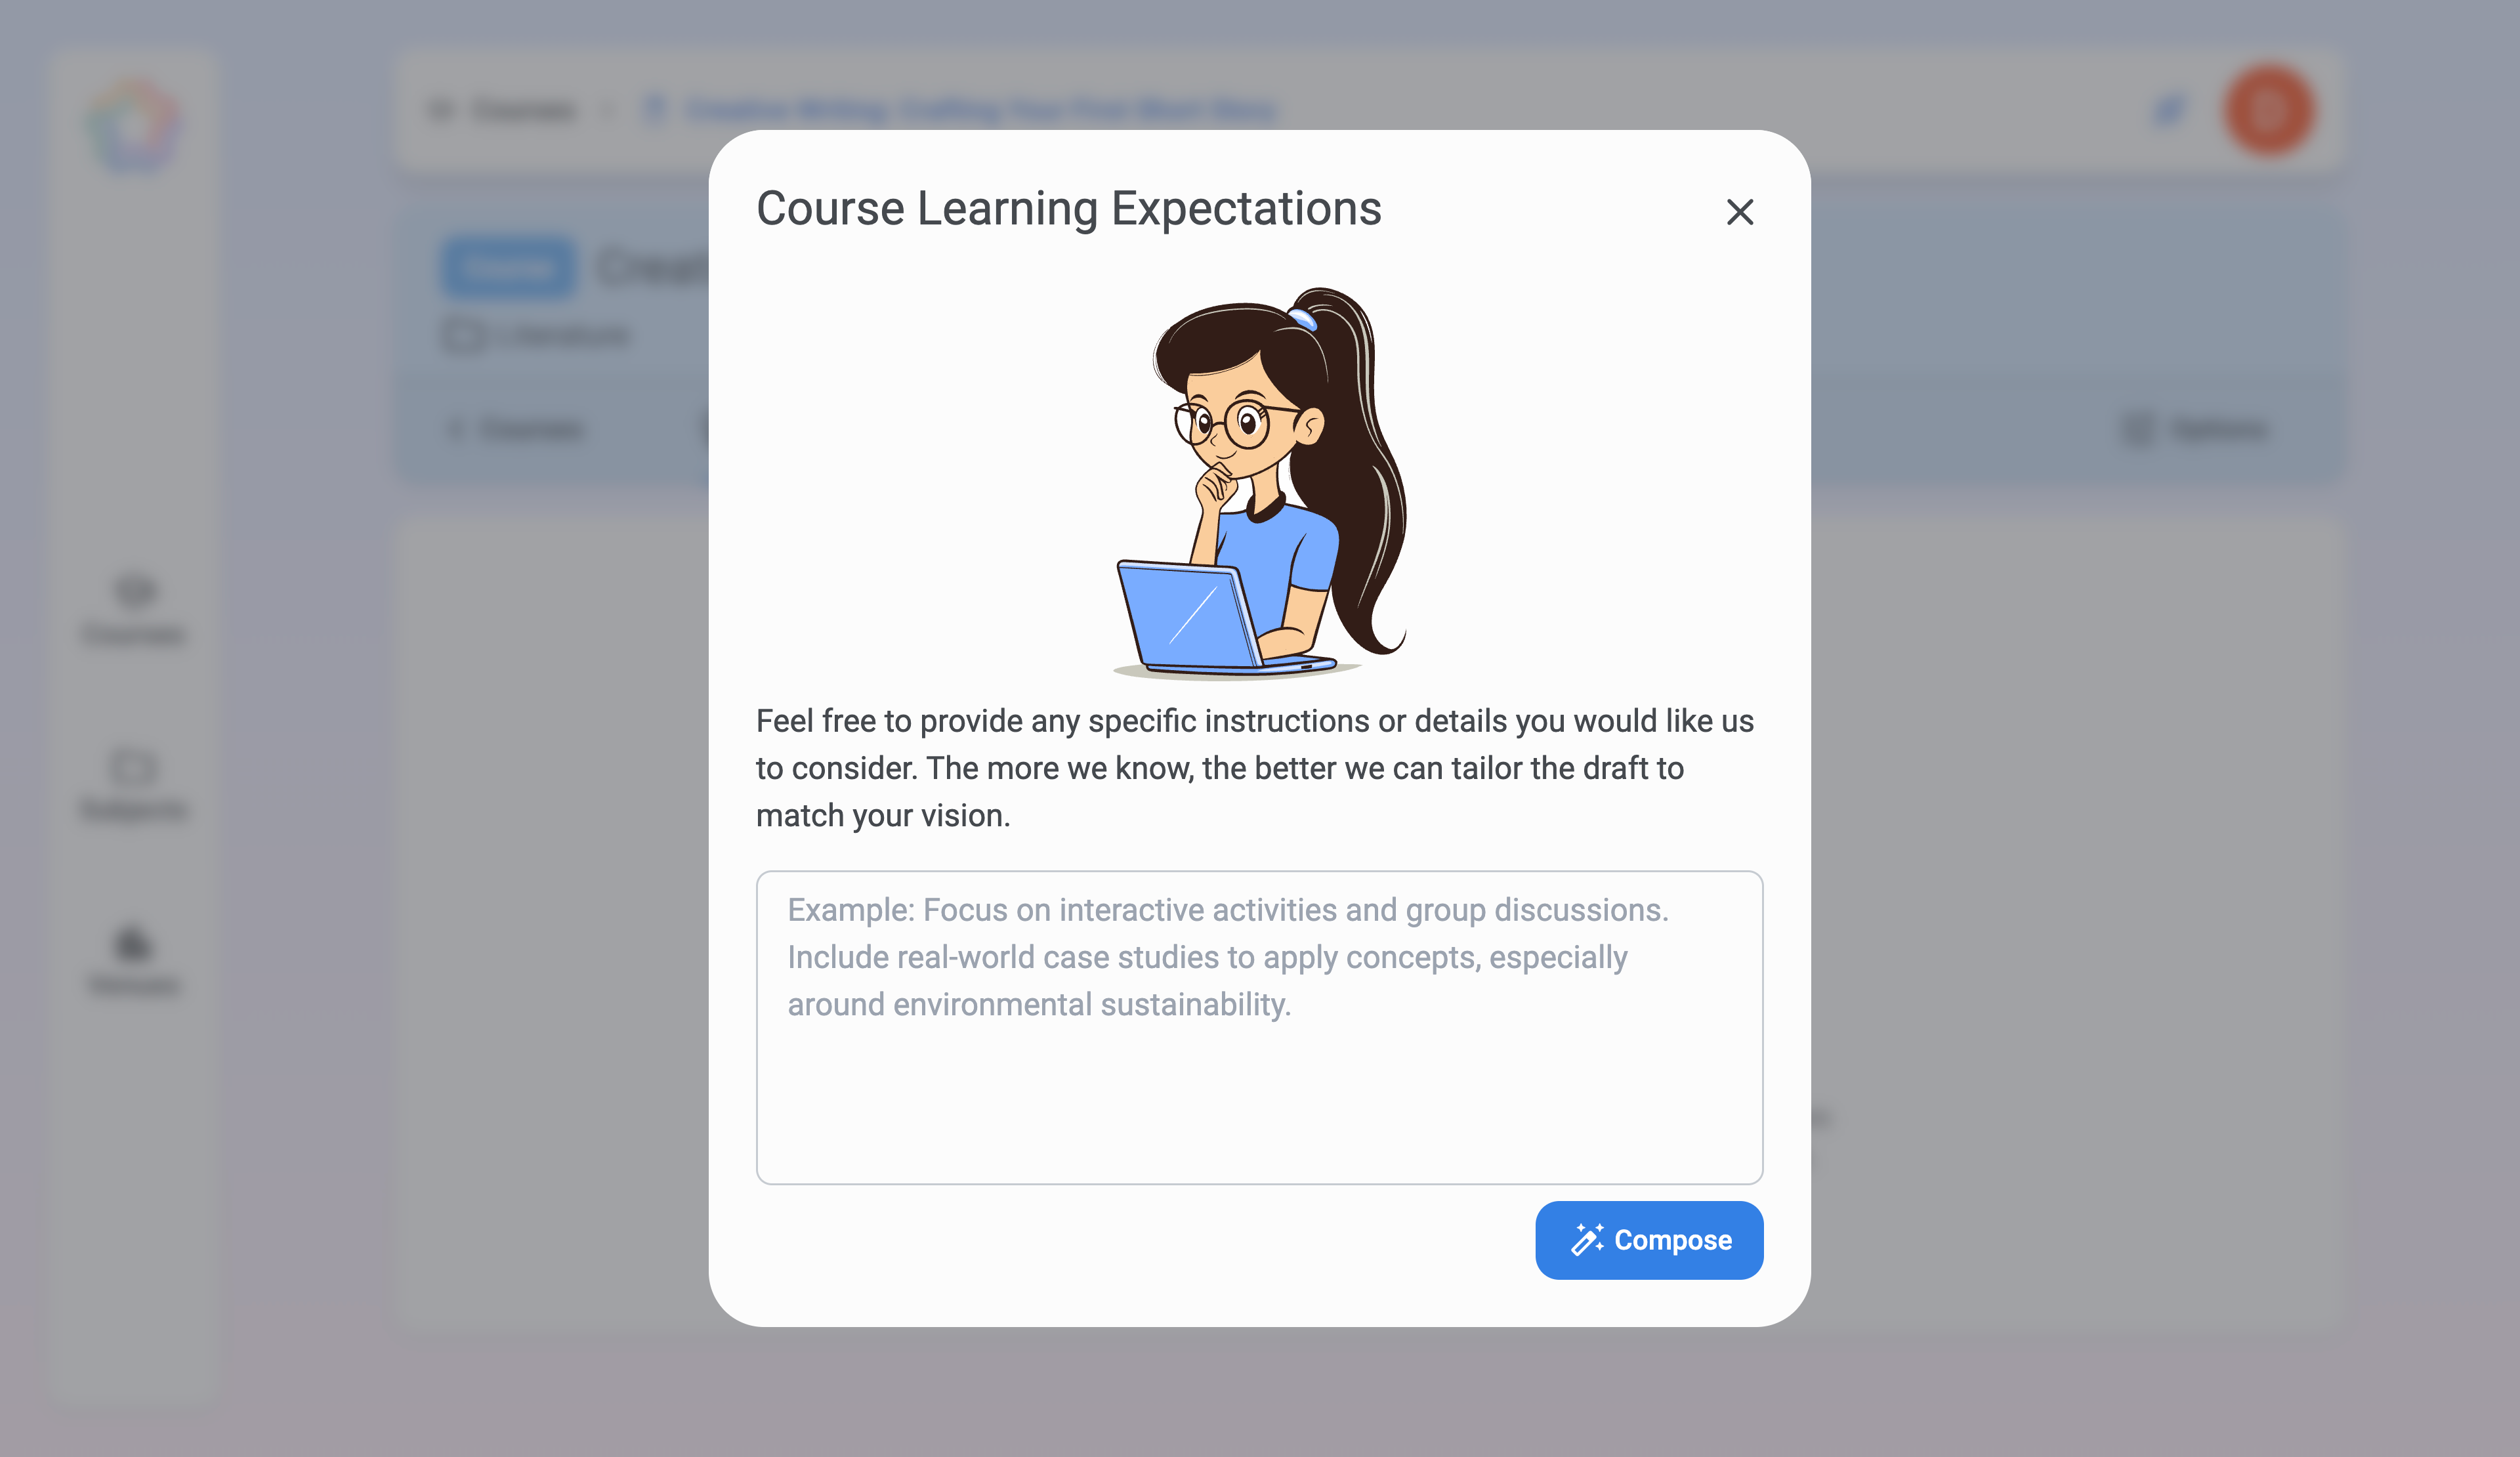
- Click the "Compose" button to generate Course Goals, Course Objectives, and Course Outcomes blocks.
- A settings window will appear, allowing you to provide details or context for AI. This helps create more accurate objectives.
- After filling in the settings, AI will generate content for all three blocks at the same time.
Manual Creation
If you prefer full customization:
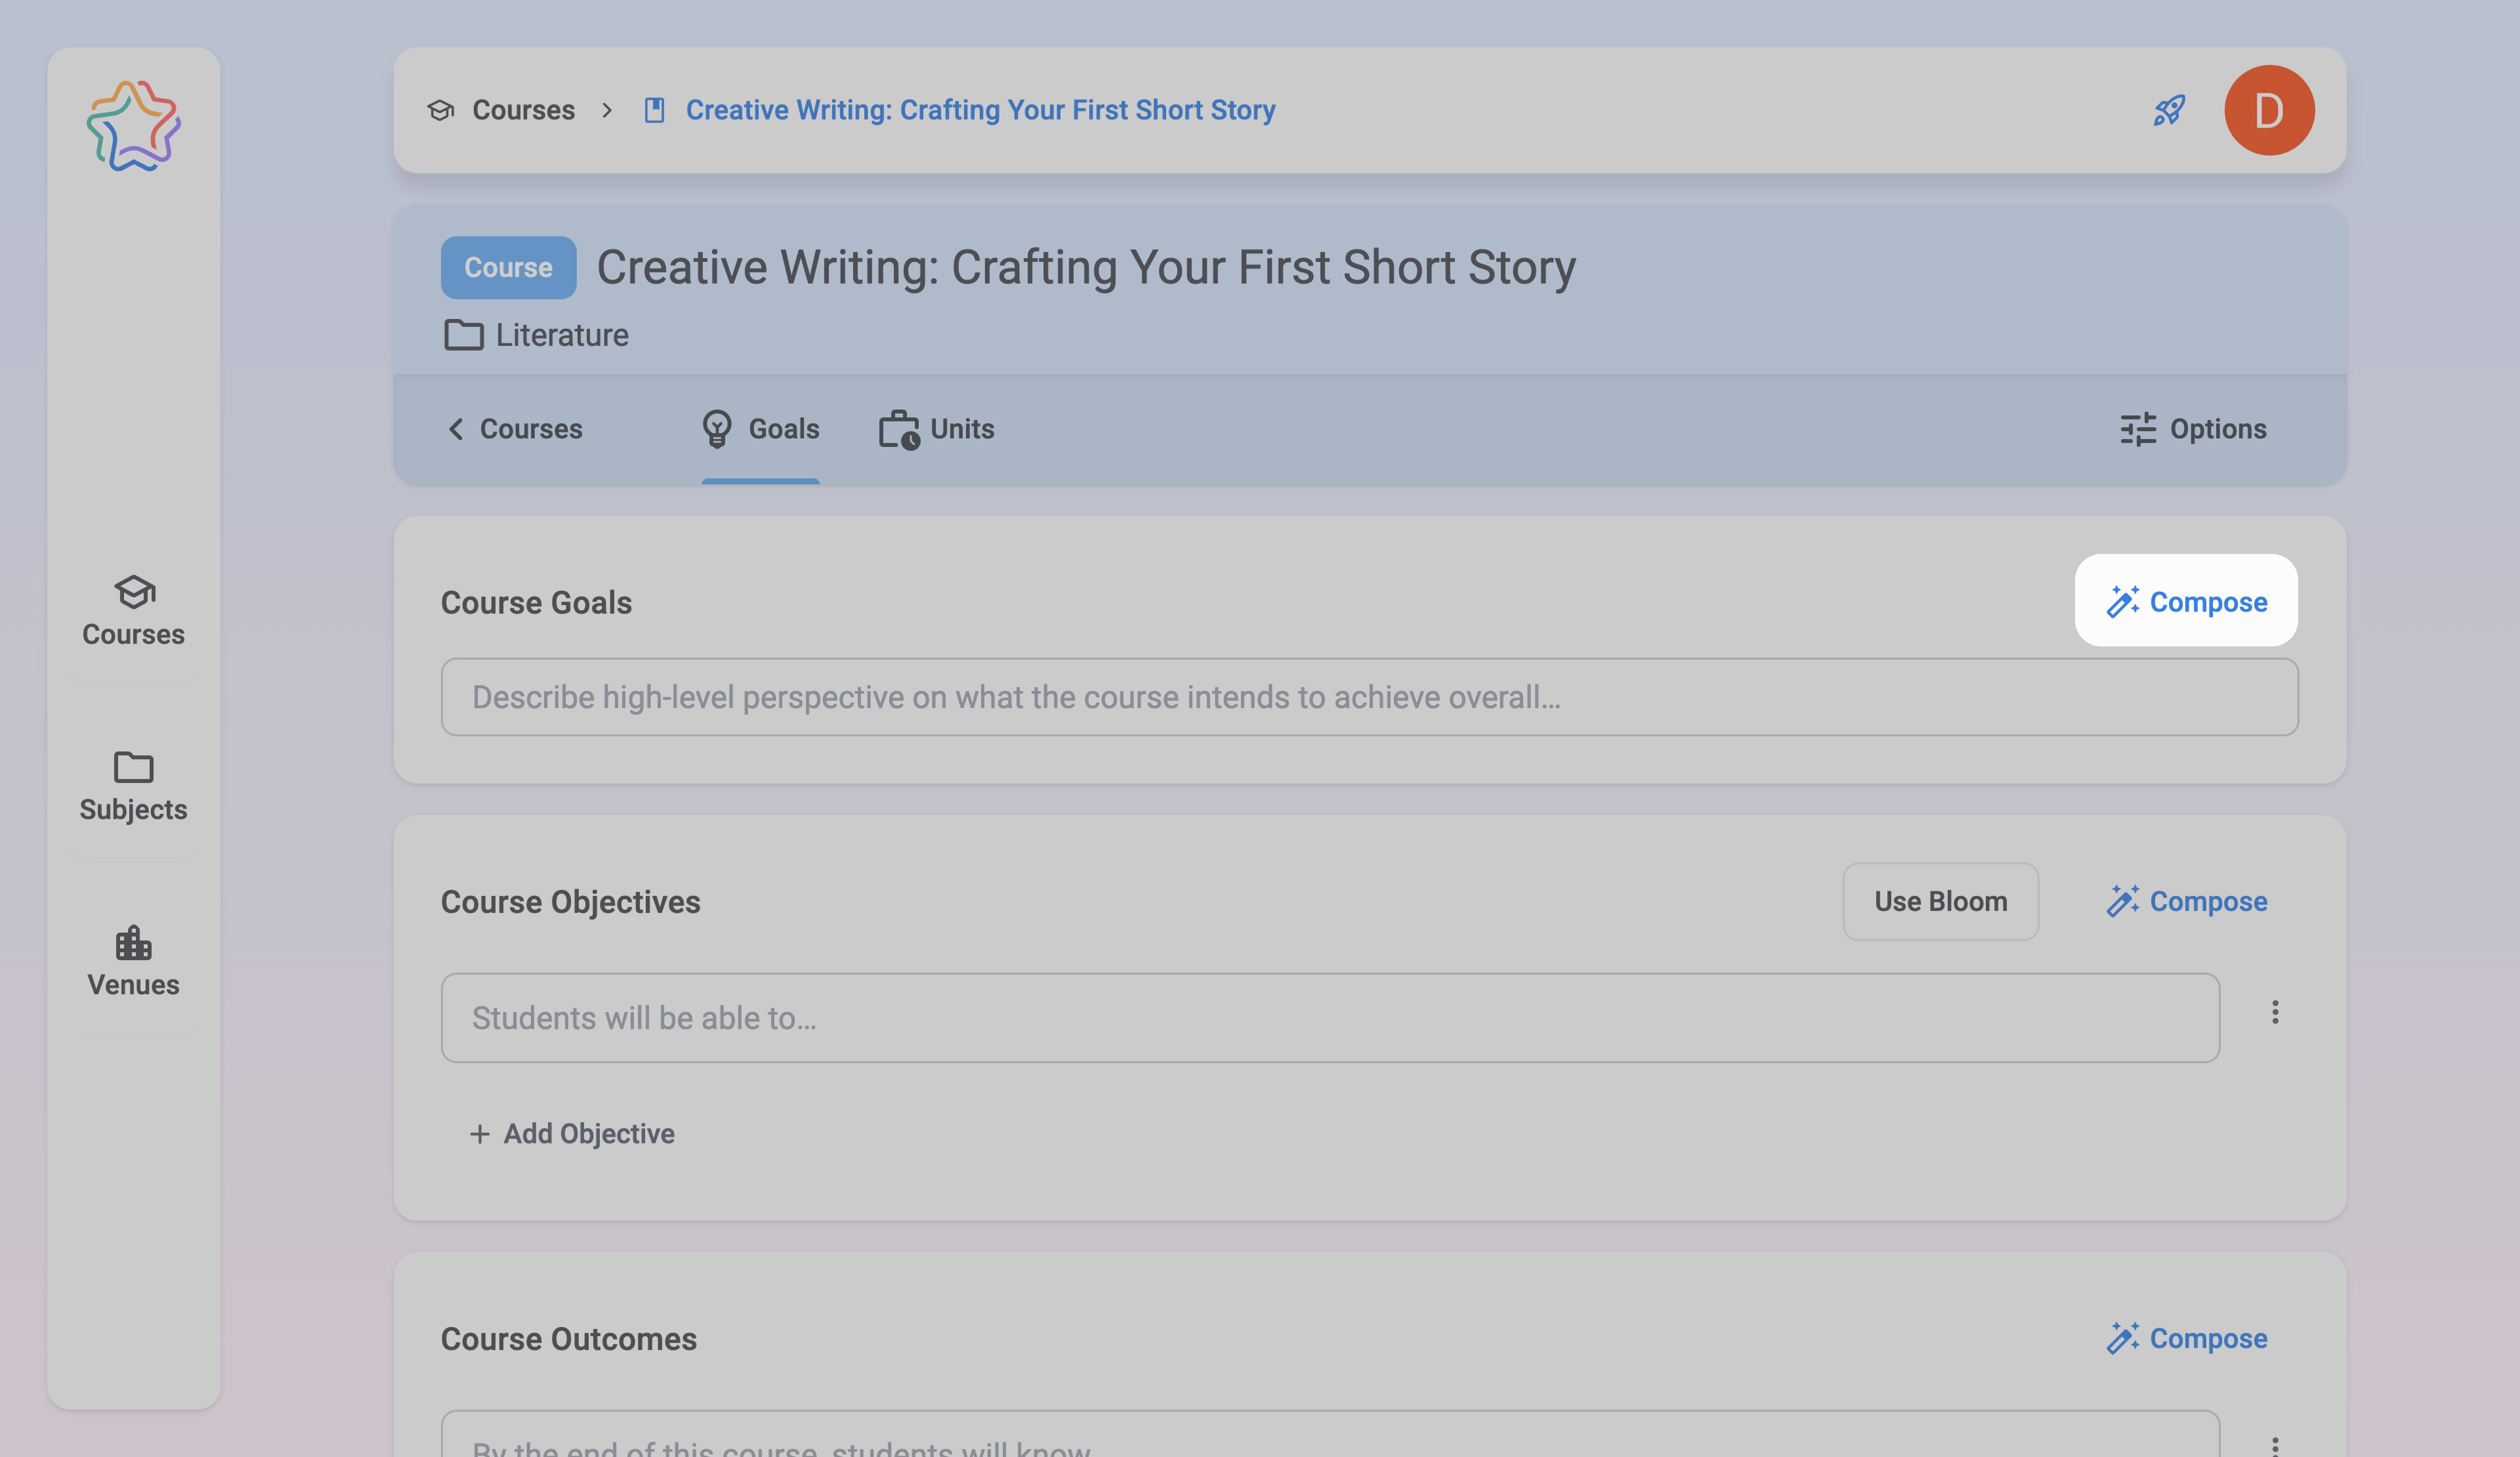
- Click on the relevant block (Goals, Objectives, or Outcomes).
- Manually type the desired content in the provided text field.
🔎 Note
Even if you choose to create manually, you can use AI at any time
Step 2: Creating Course Goals
The Goals block is where you define the overarching purpose of your course.
AI Assistance
- Click "Compose" to generate objectives using AI.
💡 Tip
Start with AI-generated content for a draft outline, then adjust to fit your course.
Step 3: Defining Course Objectives
Course Objectives are specific actions learners should achieve to meet the course goals.
AI Assistance
- Click "Compose" to generate objectives using AI.
If the Goals block is empty, you’ll be prompted to fill it first:
- Fill Course Goals: Fill in goals and return to generating objectives.
- Rewrite: Continue without goals (though this may affect accuracy).
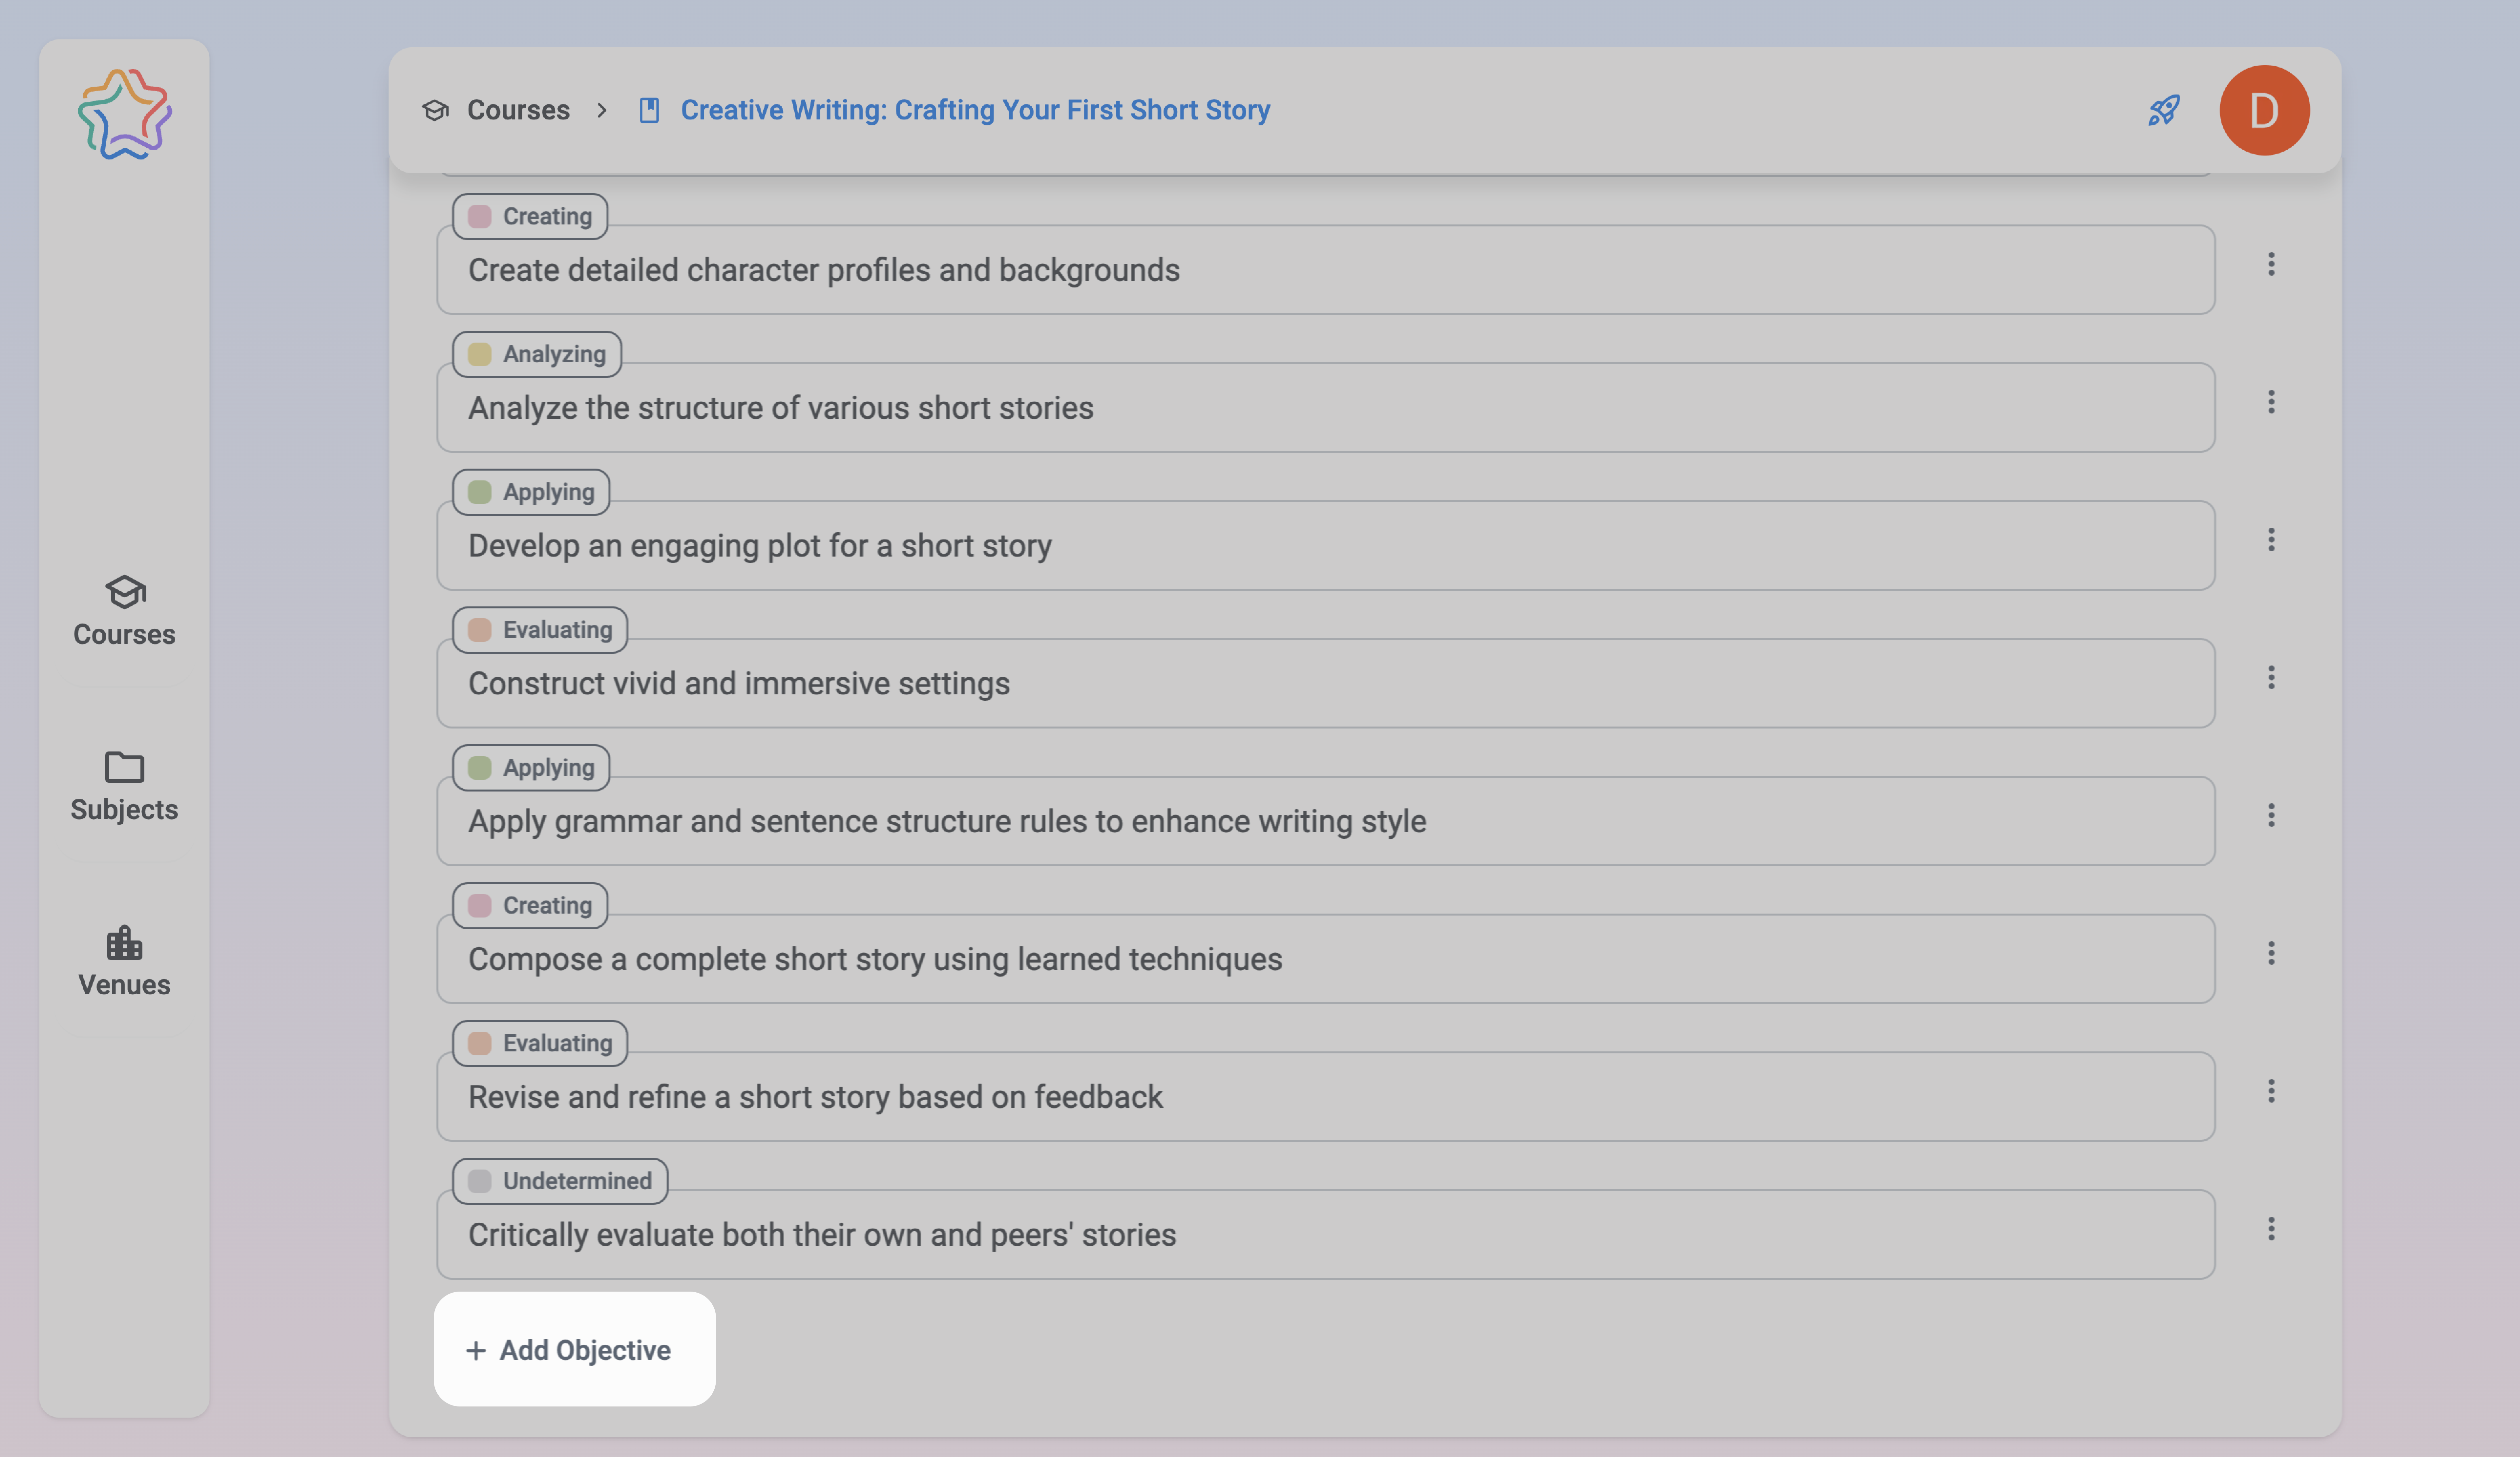
Create Manually
- Add objectives by typing them into the input fields.
- To add more objectives, click "Add Objective", which creates a new blank field.
Step 4: Using Bloom’s Taxonomy for Objectives
Bloom’s Taxonomy is a framework that helps define and classify learning objectives based on their complexity and cognitive level, from basic knowledge recall to higher-order skills like analysis and creation.
- Default State: The button is unselected (not highlighted). This means that objectives will not use the taxonomy framework by default.
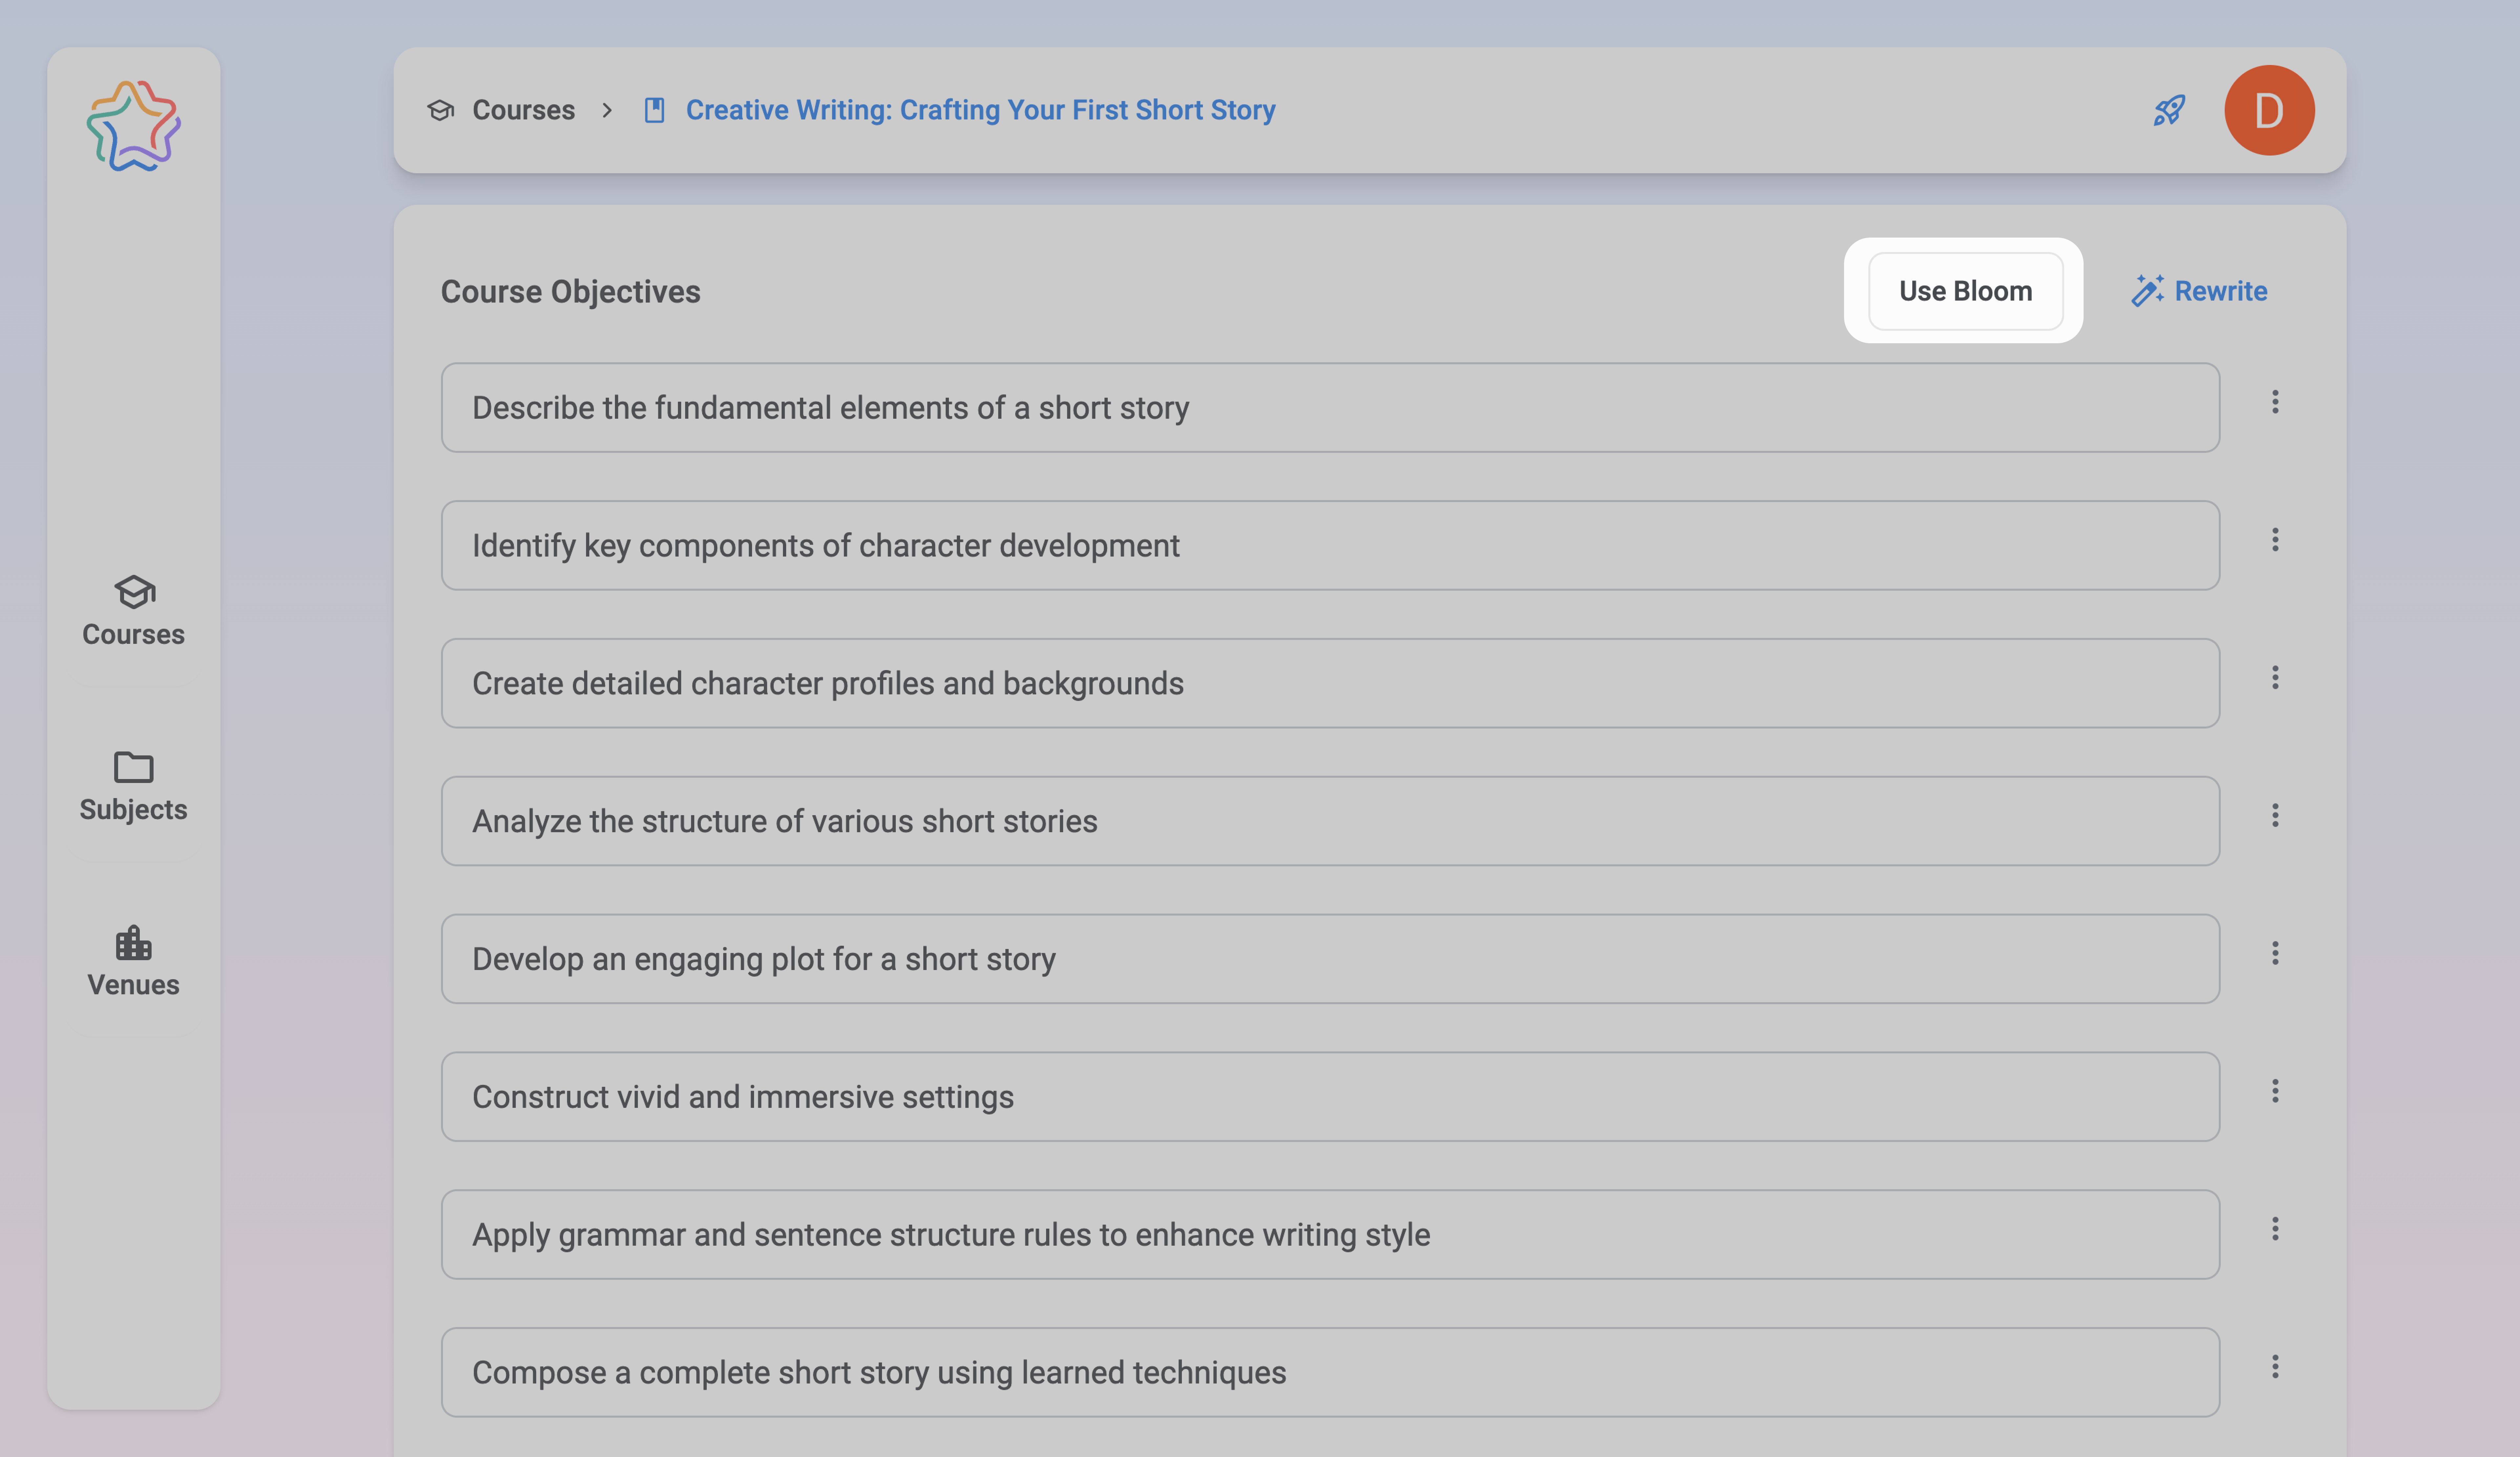
- Activate Bloom’s Taxonomy: Click "Use Bloom" button to enable the framework. Once activated, the button will turn blue and level chips will appear on each objective field.
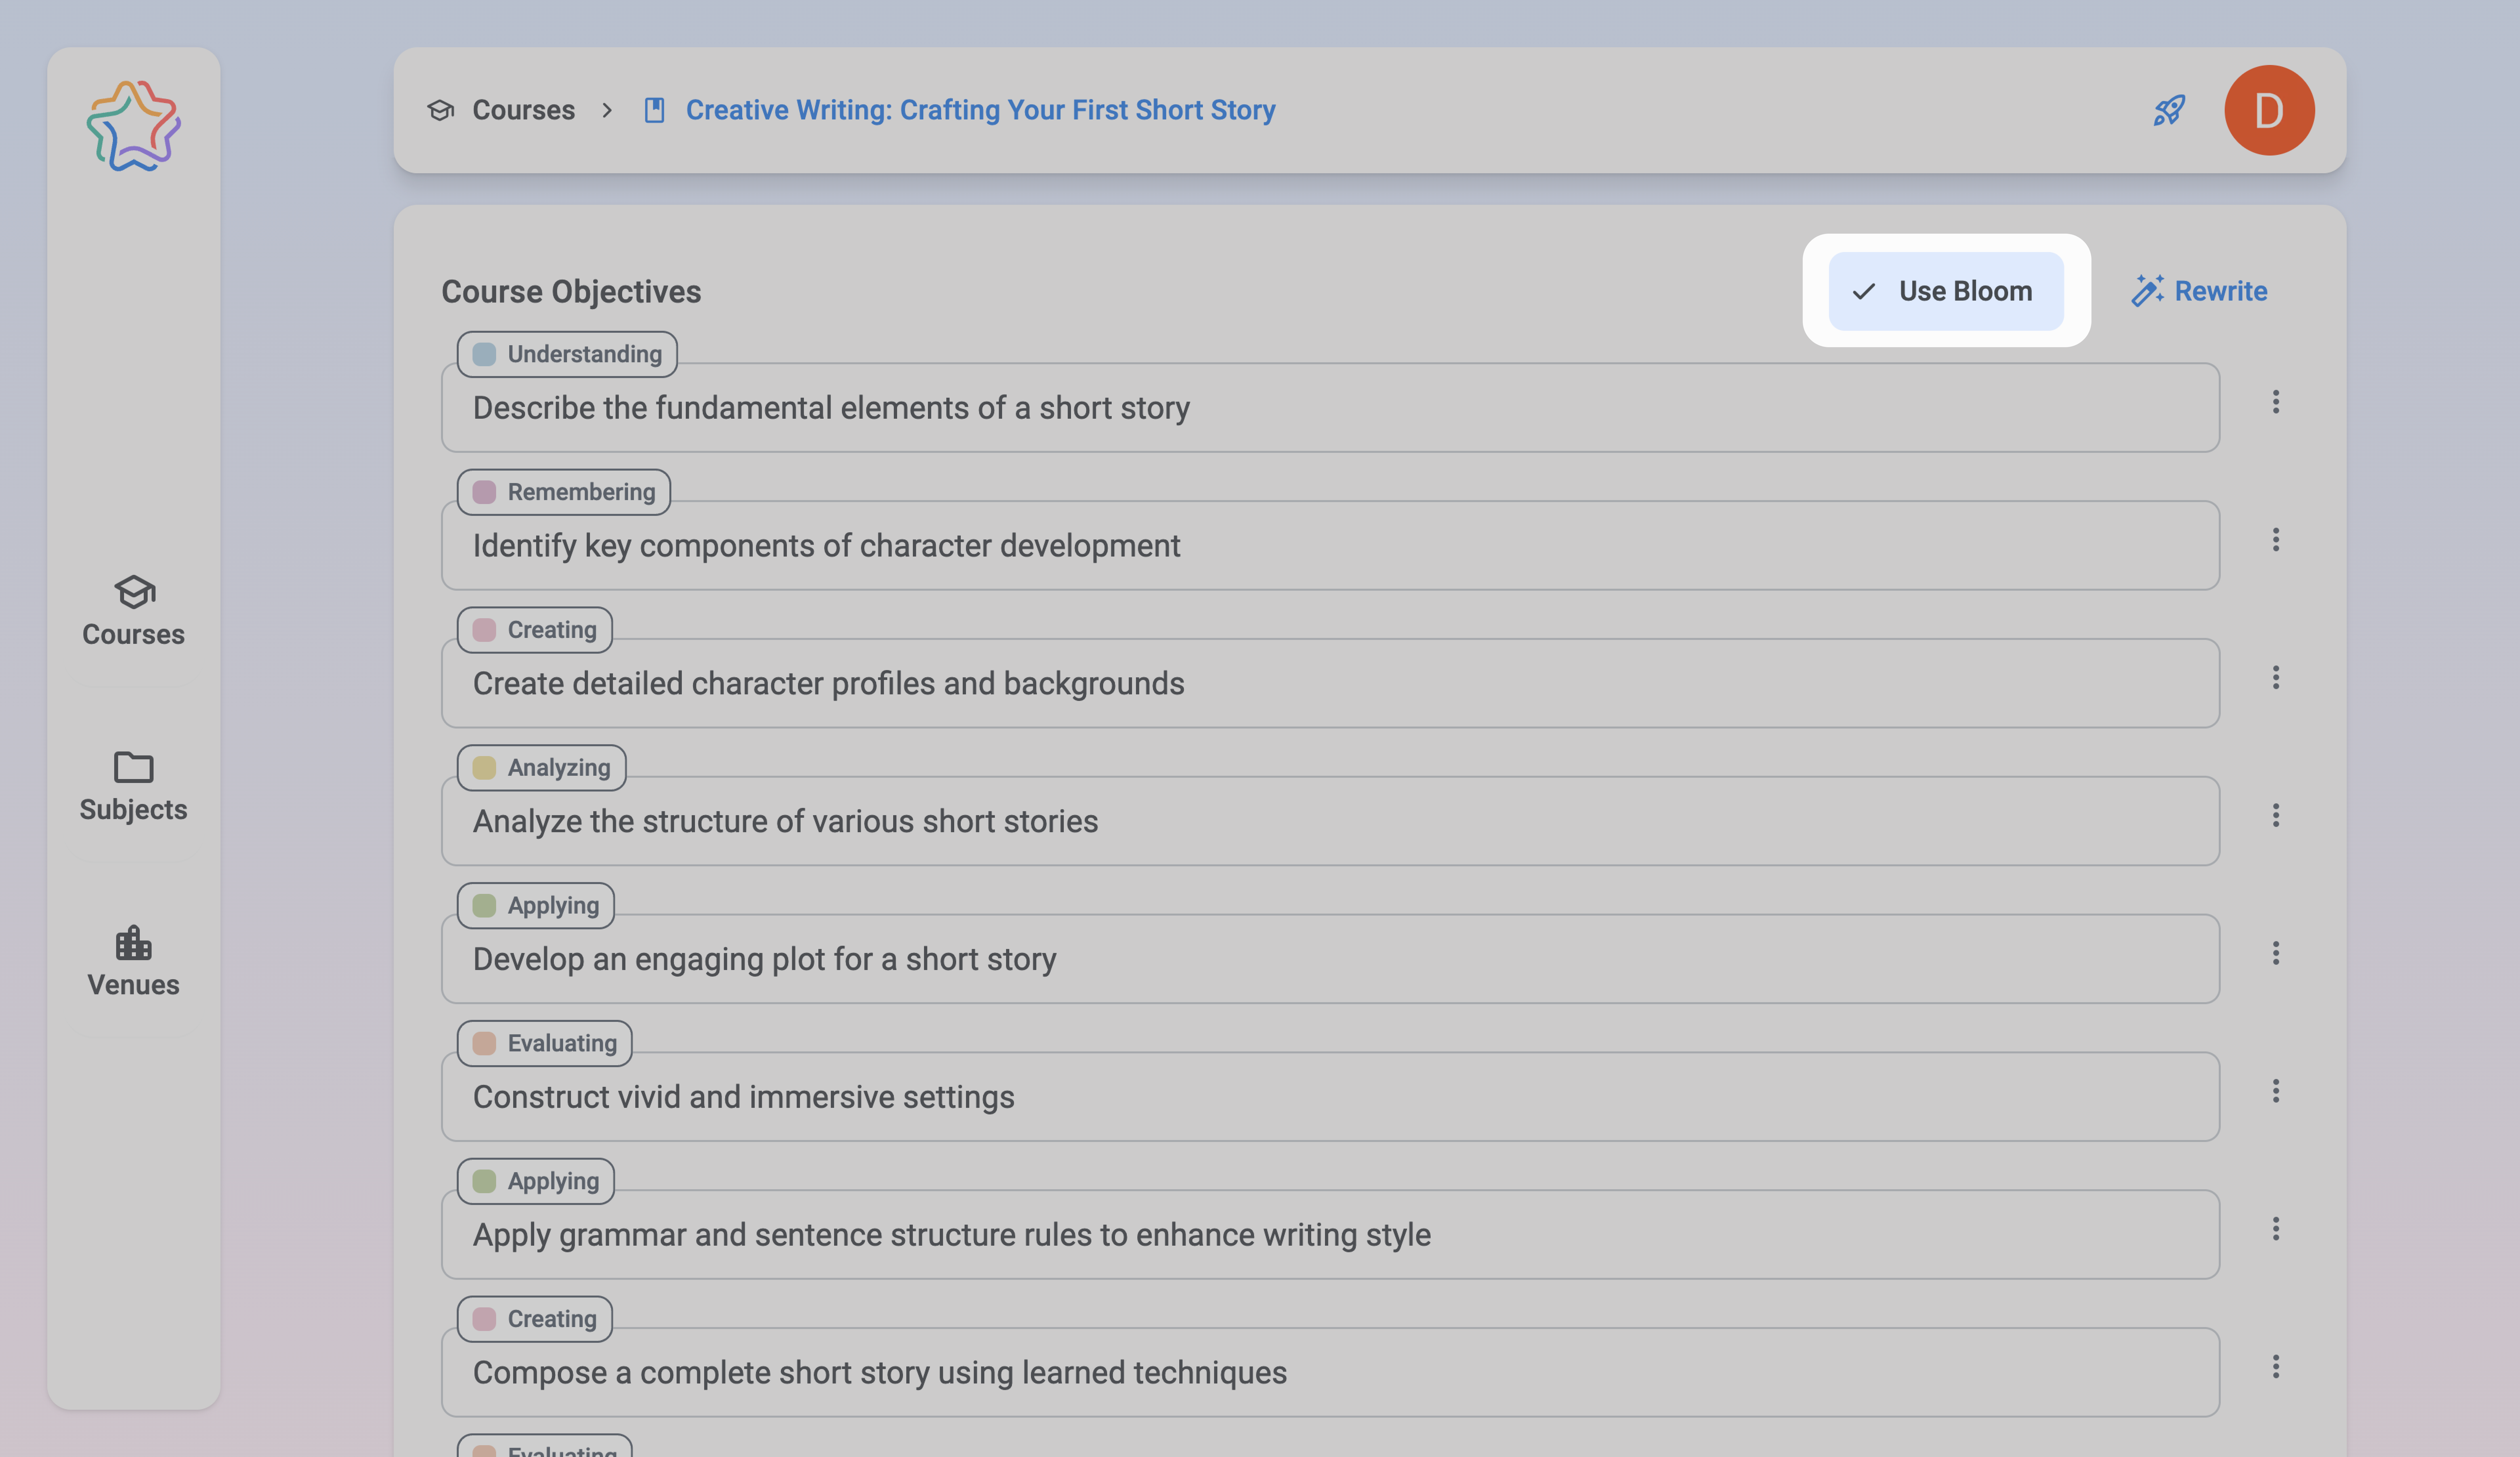
For Existing Objectives
- Click "Use Bloom" button.
- The system will analyze the current objectives and align them with the appropriate levels of the taxonomy. You can manually adjust as needed to refine the alignment
For Generating New Objectives
- Click "Use Bloom" button
- Click the "Compose" button.
- Objectives generated by AI will now include verbs and phrasing that correspond to the chosen levels of Bloom’s Taxonomy.
💡 Tip
Using Bloom’s Taxonomy ensures that objectives are structured to meet specific learning levels, making them more precise and measurable.
Step 5: Specifying Course Outcomes
Outcomes describe measurable achievements learners should accomplish by the end of the course.
AI Assistance:
- Click "Compose" to generate outcomes.
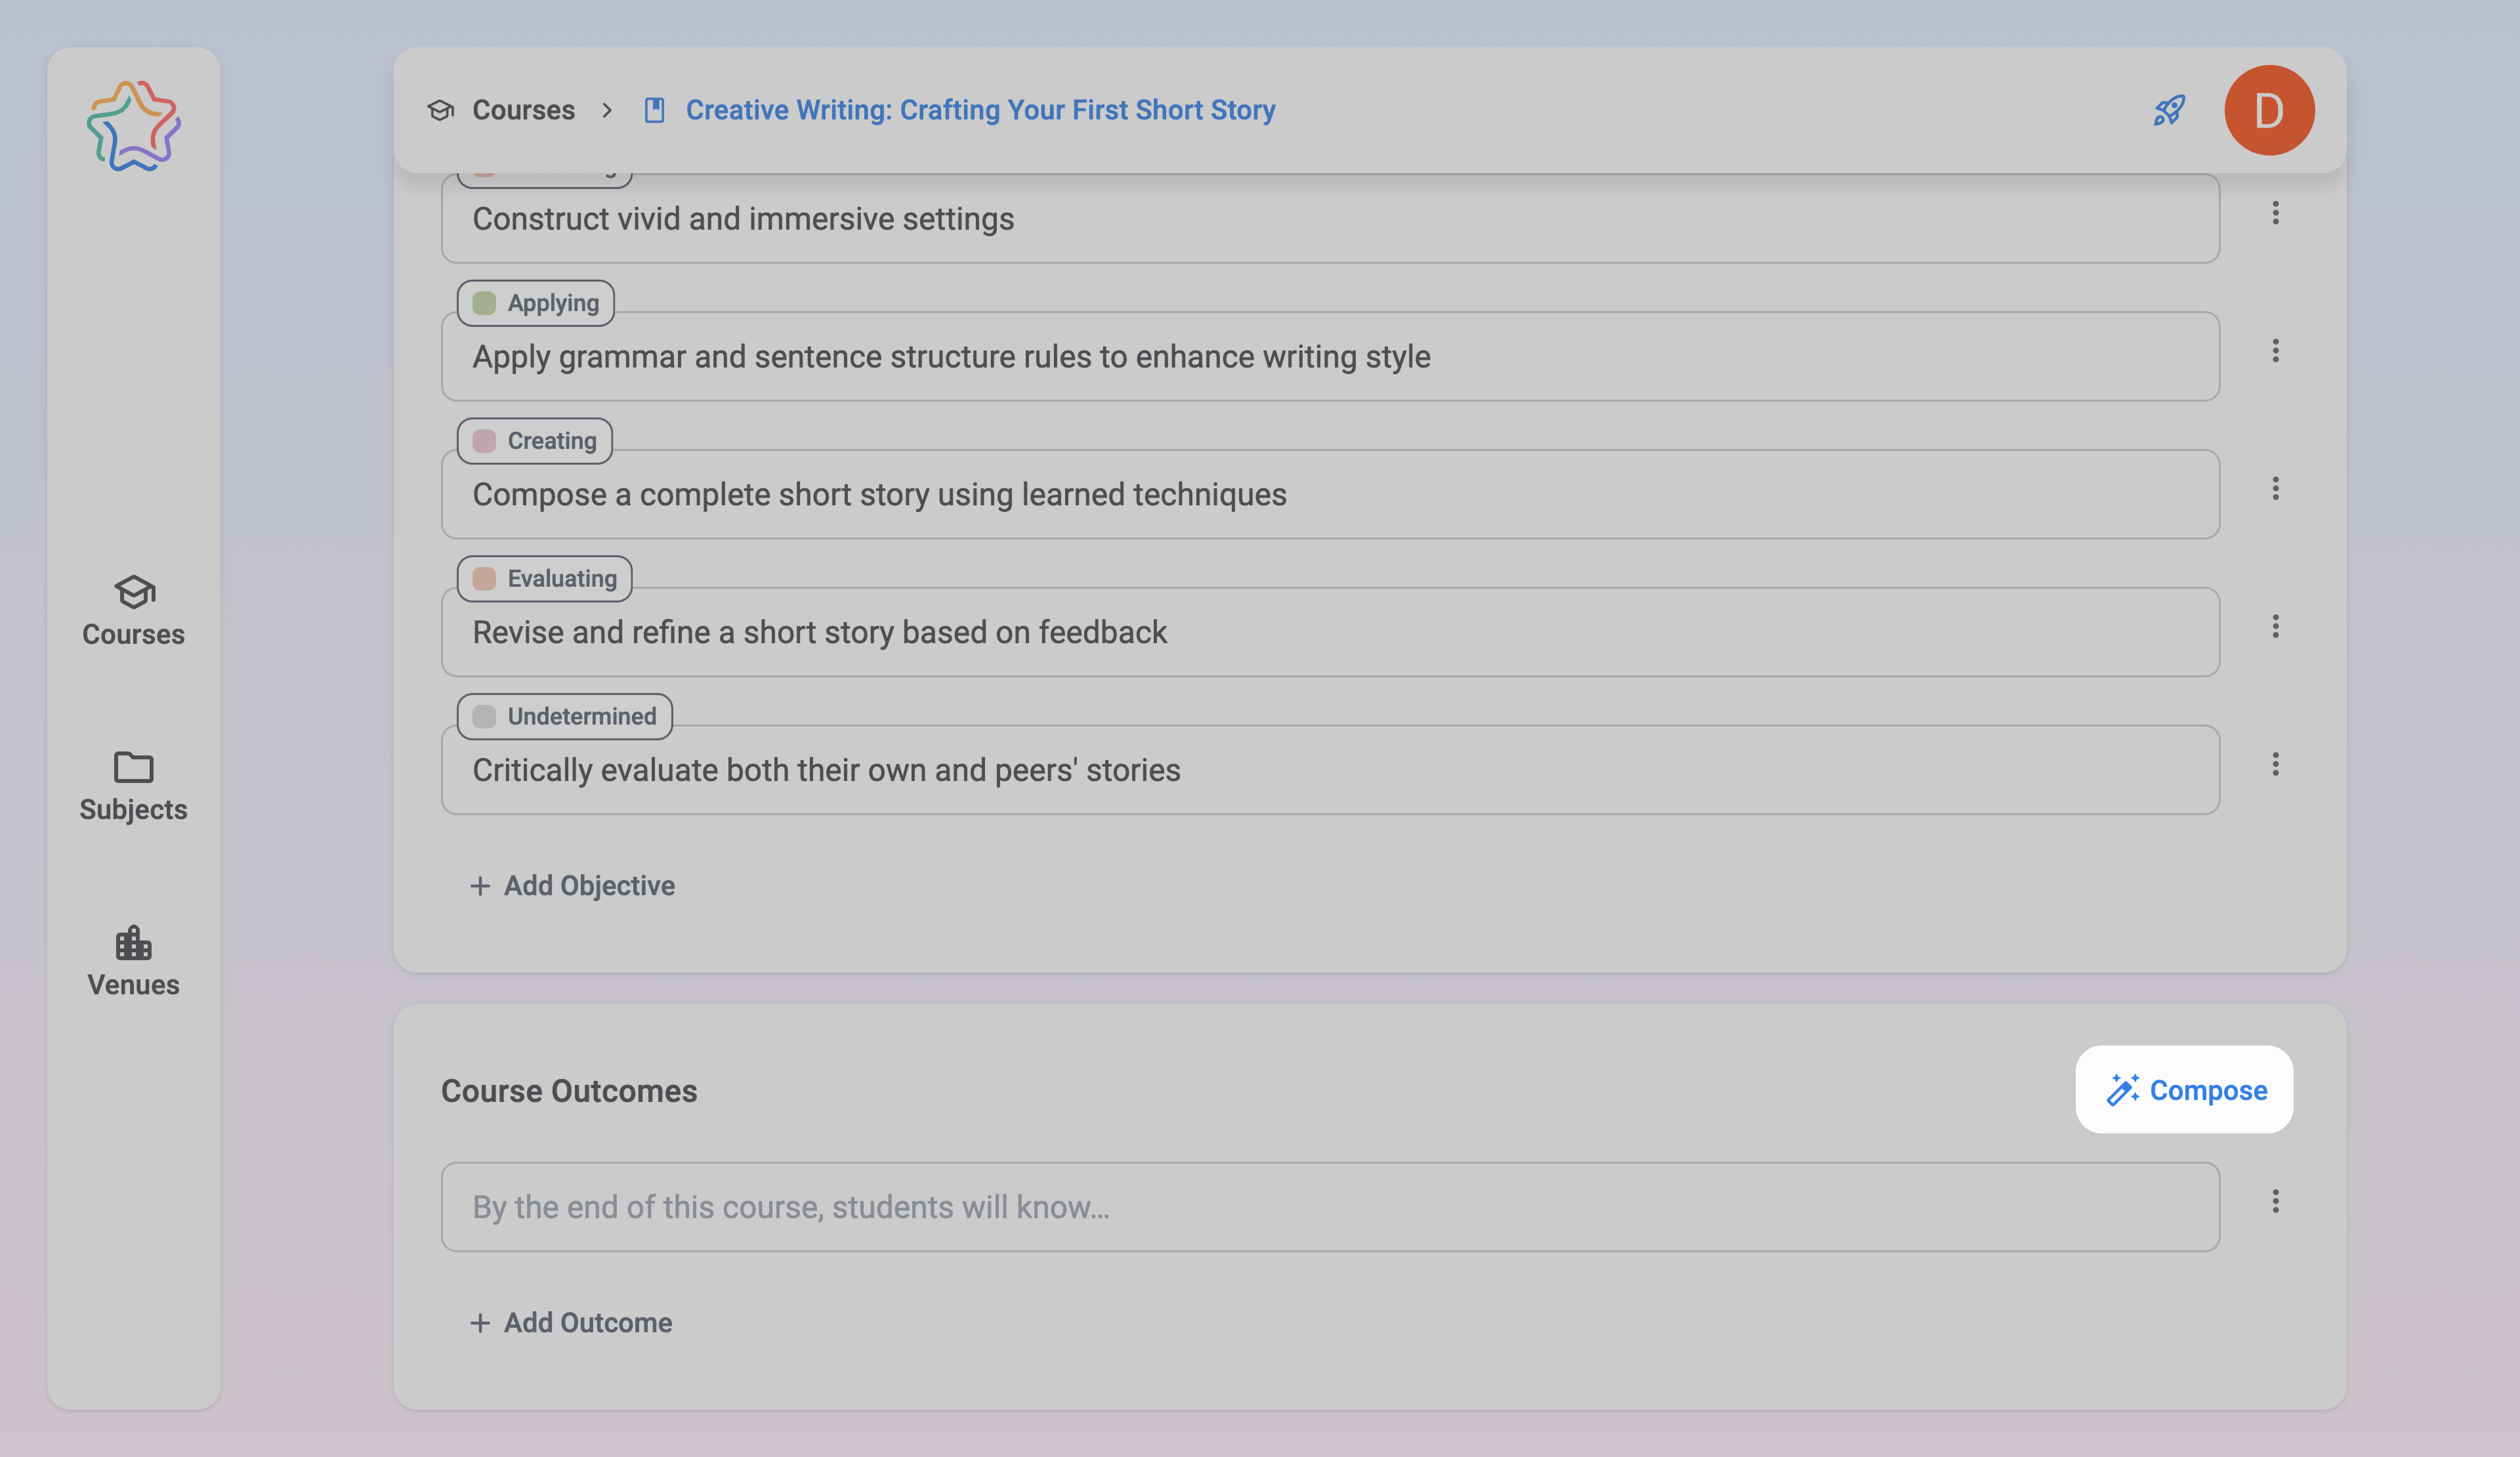
Create Manually:
Add outcomes manually in separate input fields.
- Use the "Add Outcome" button to add more fields.
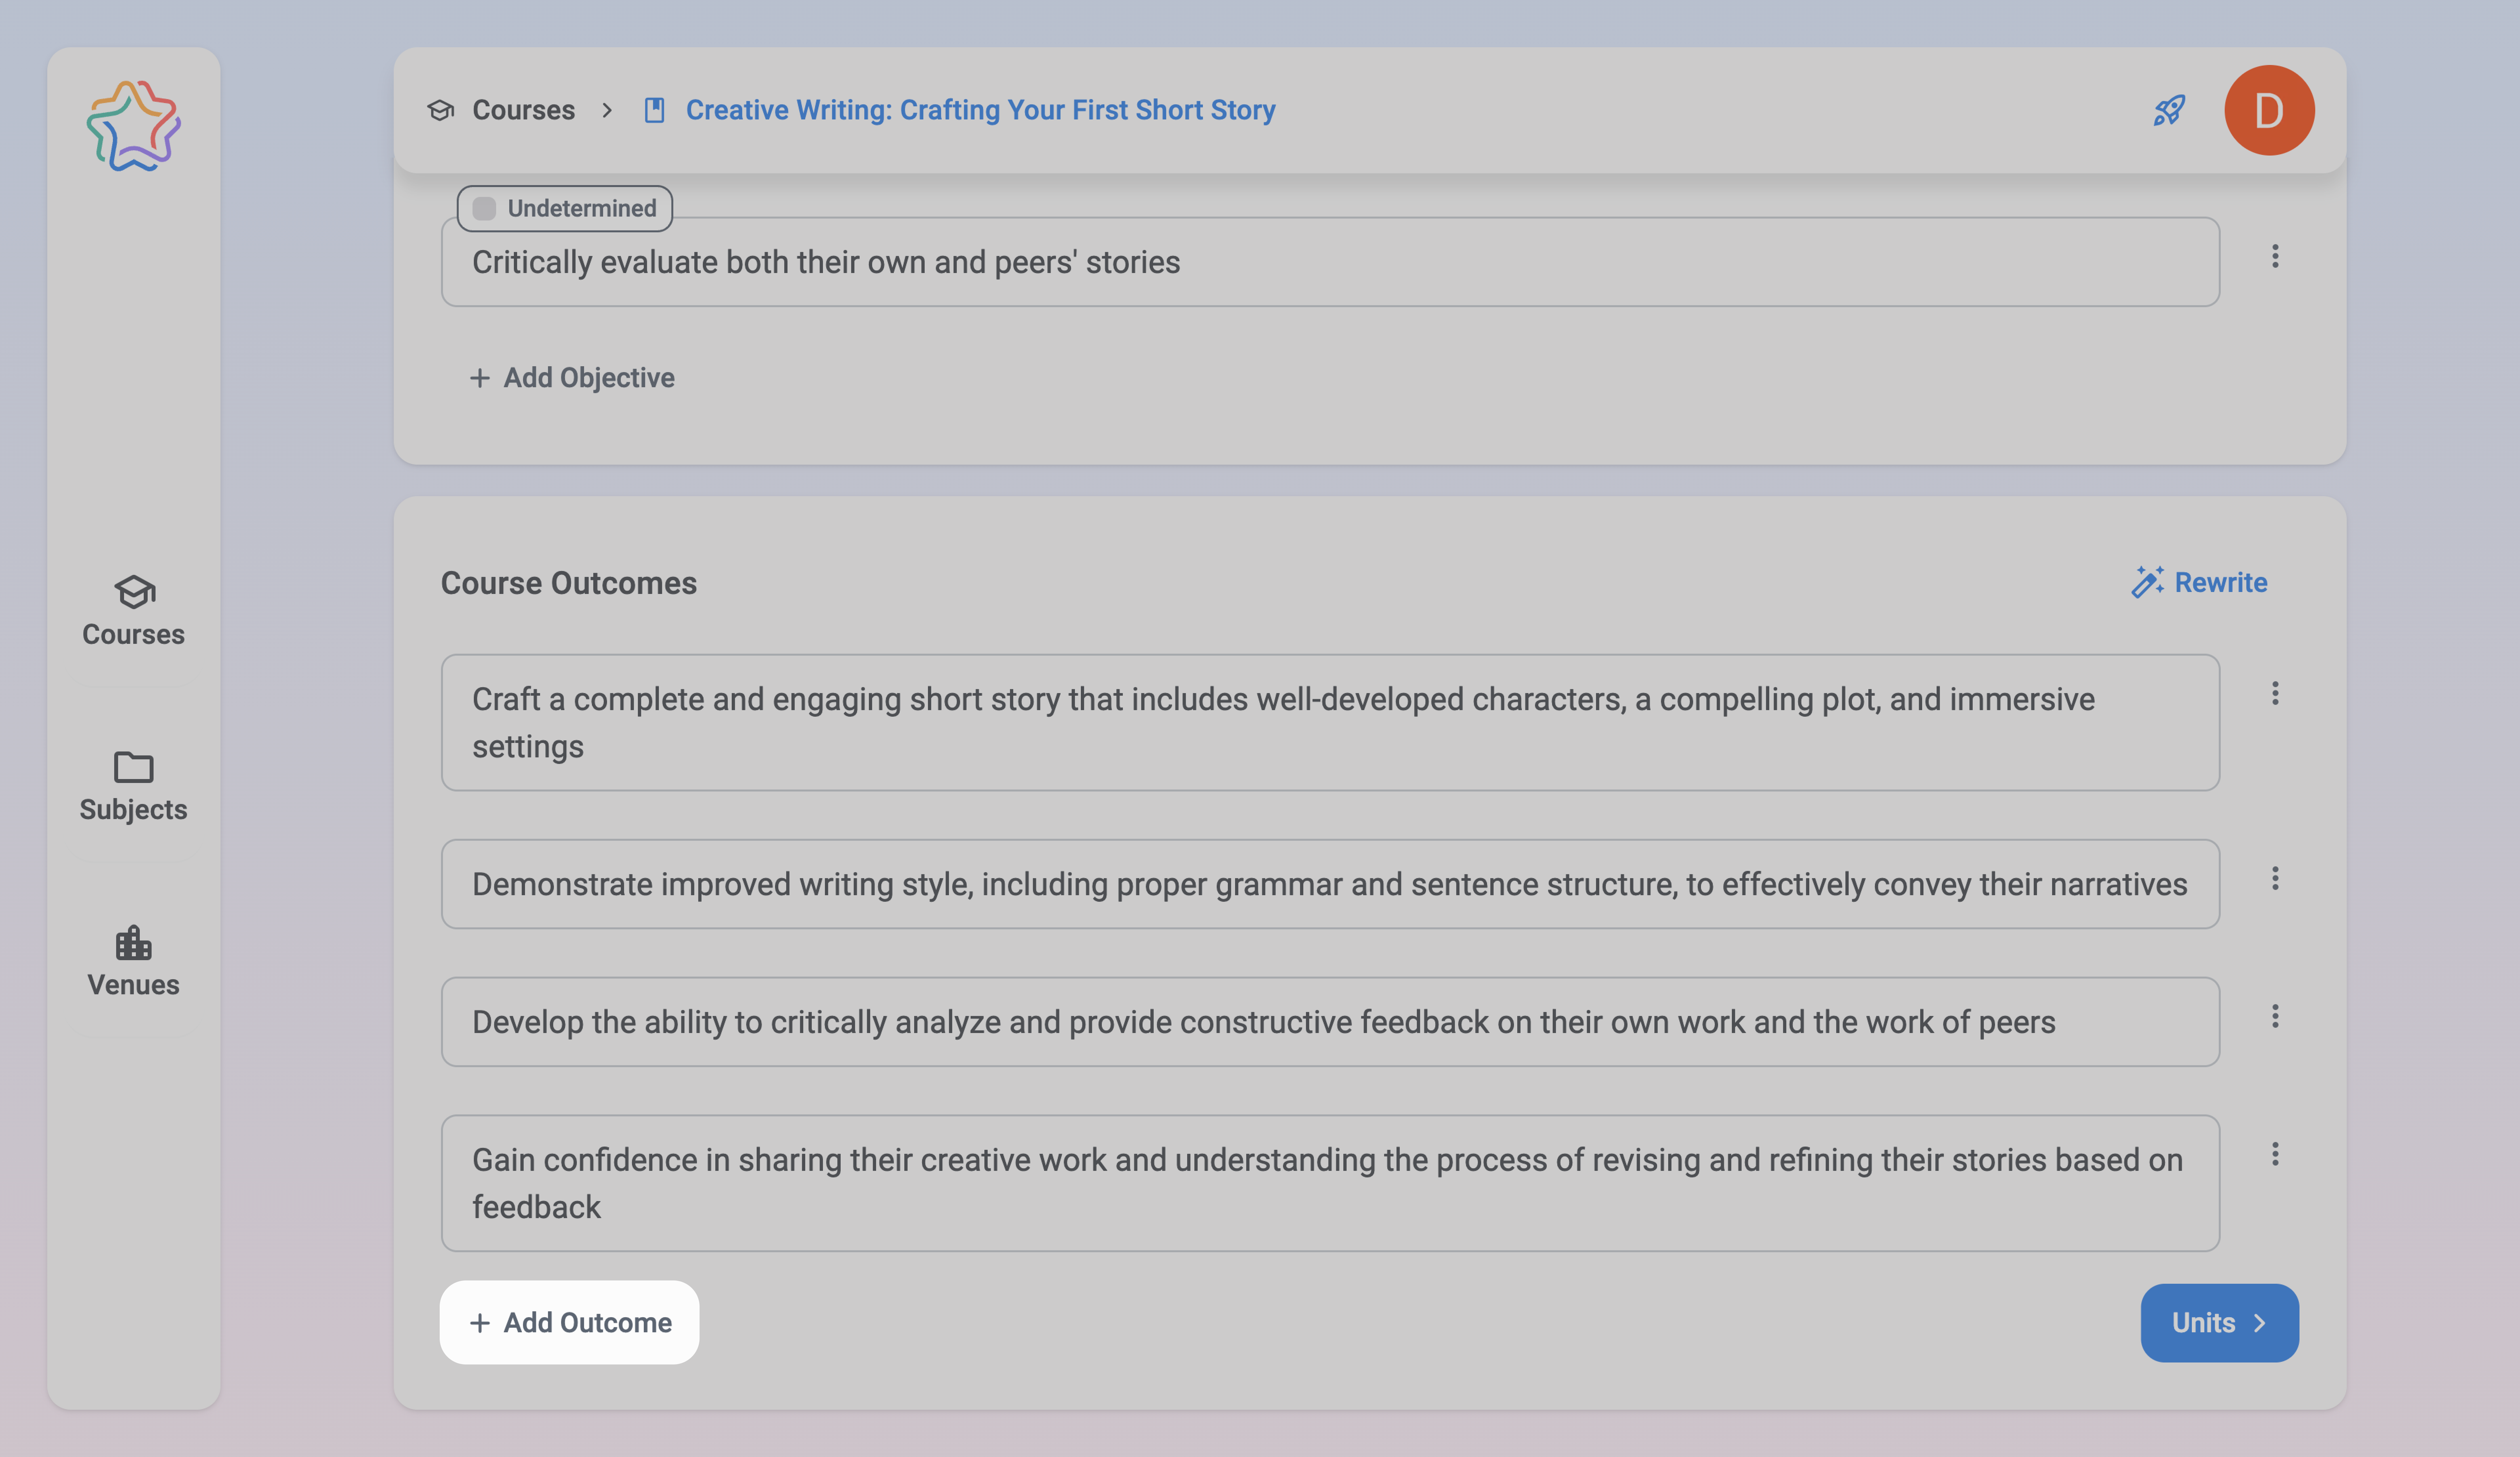
🔎 Note
Clearly defined outcomes ensure alignment between your course goals and learner achievements.
Step 6: Navigating to the Next Step
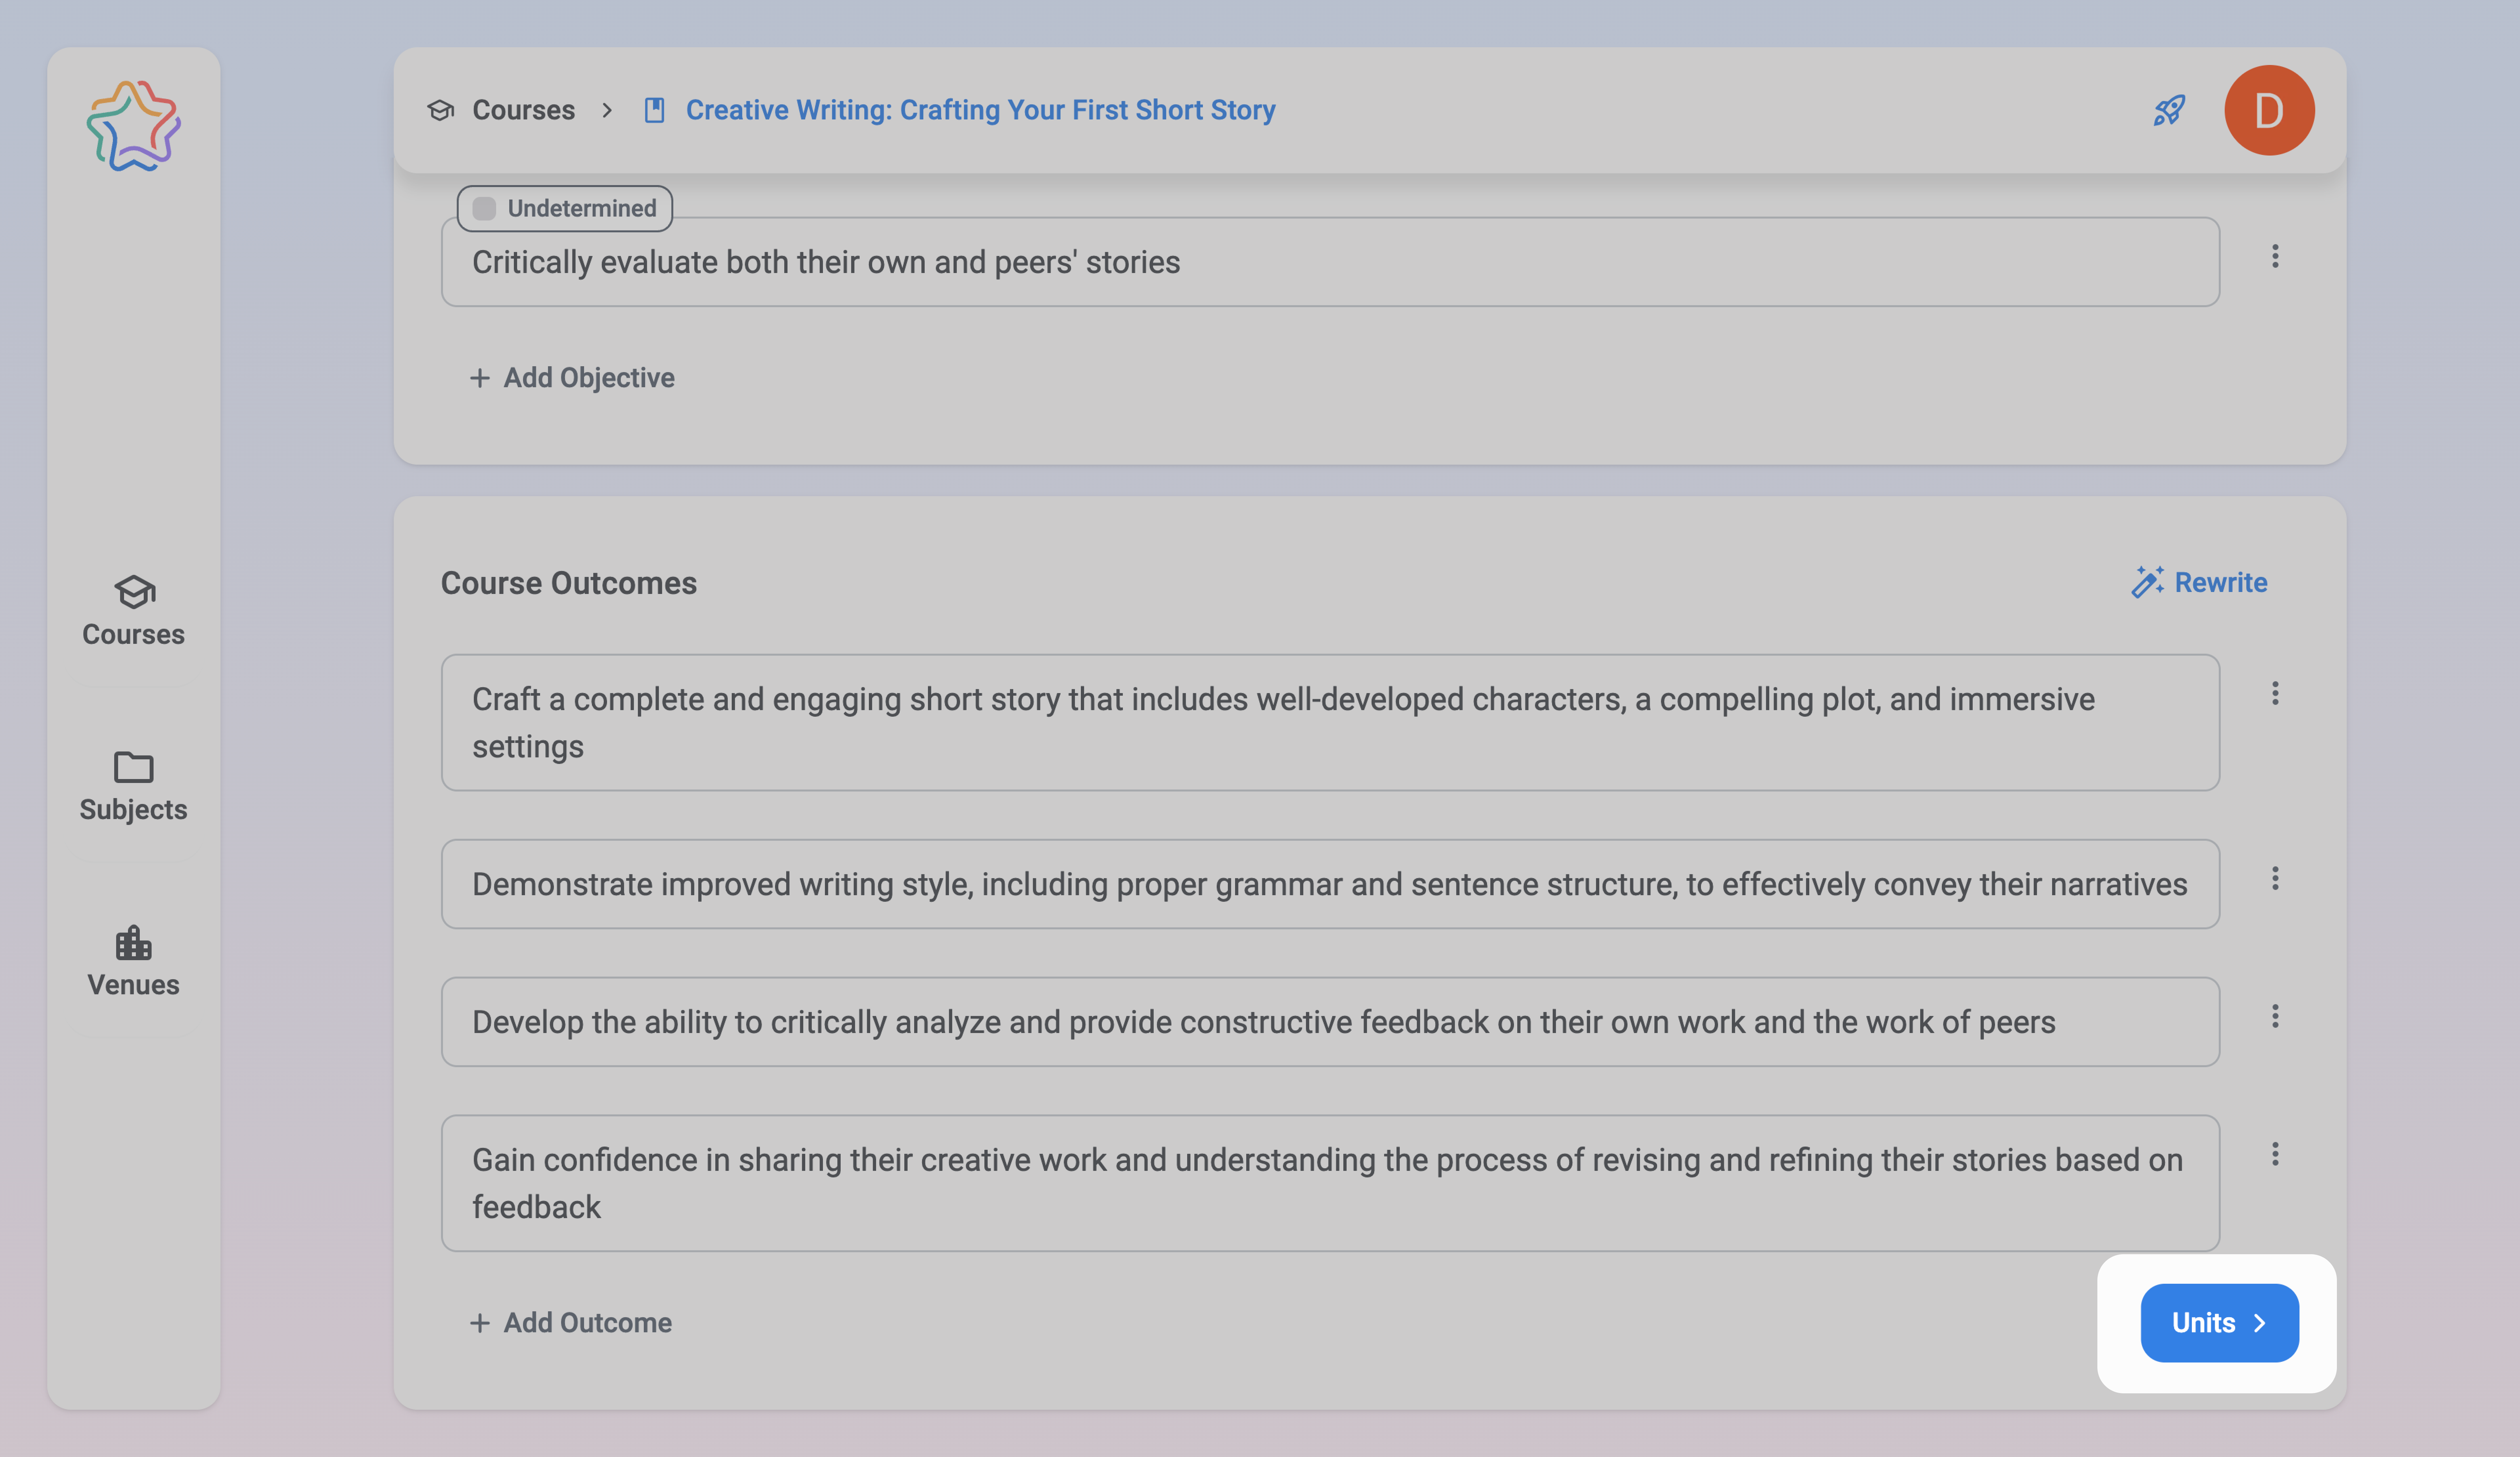
Once you’ve completed all three blocks:
- Click the "Units" button at the bottom of the page to go to the next step in creating a course.
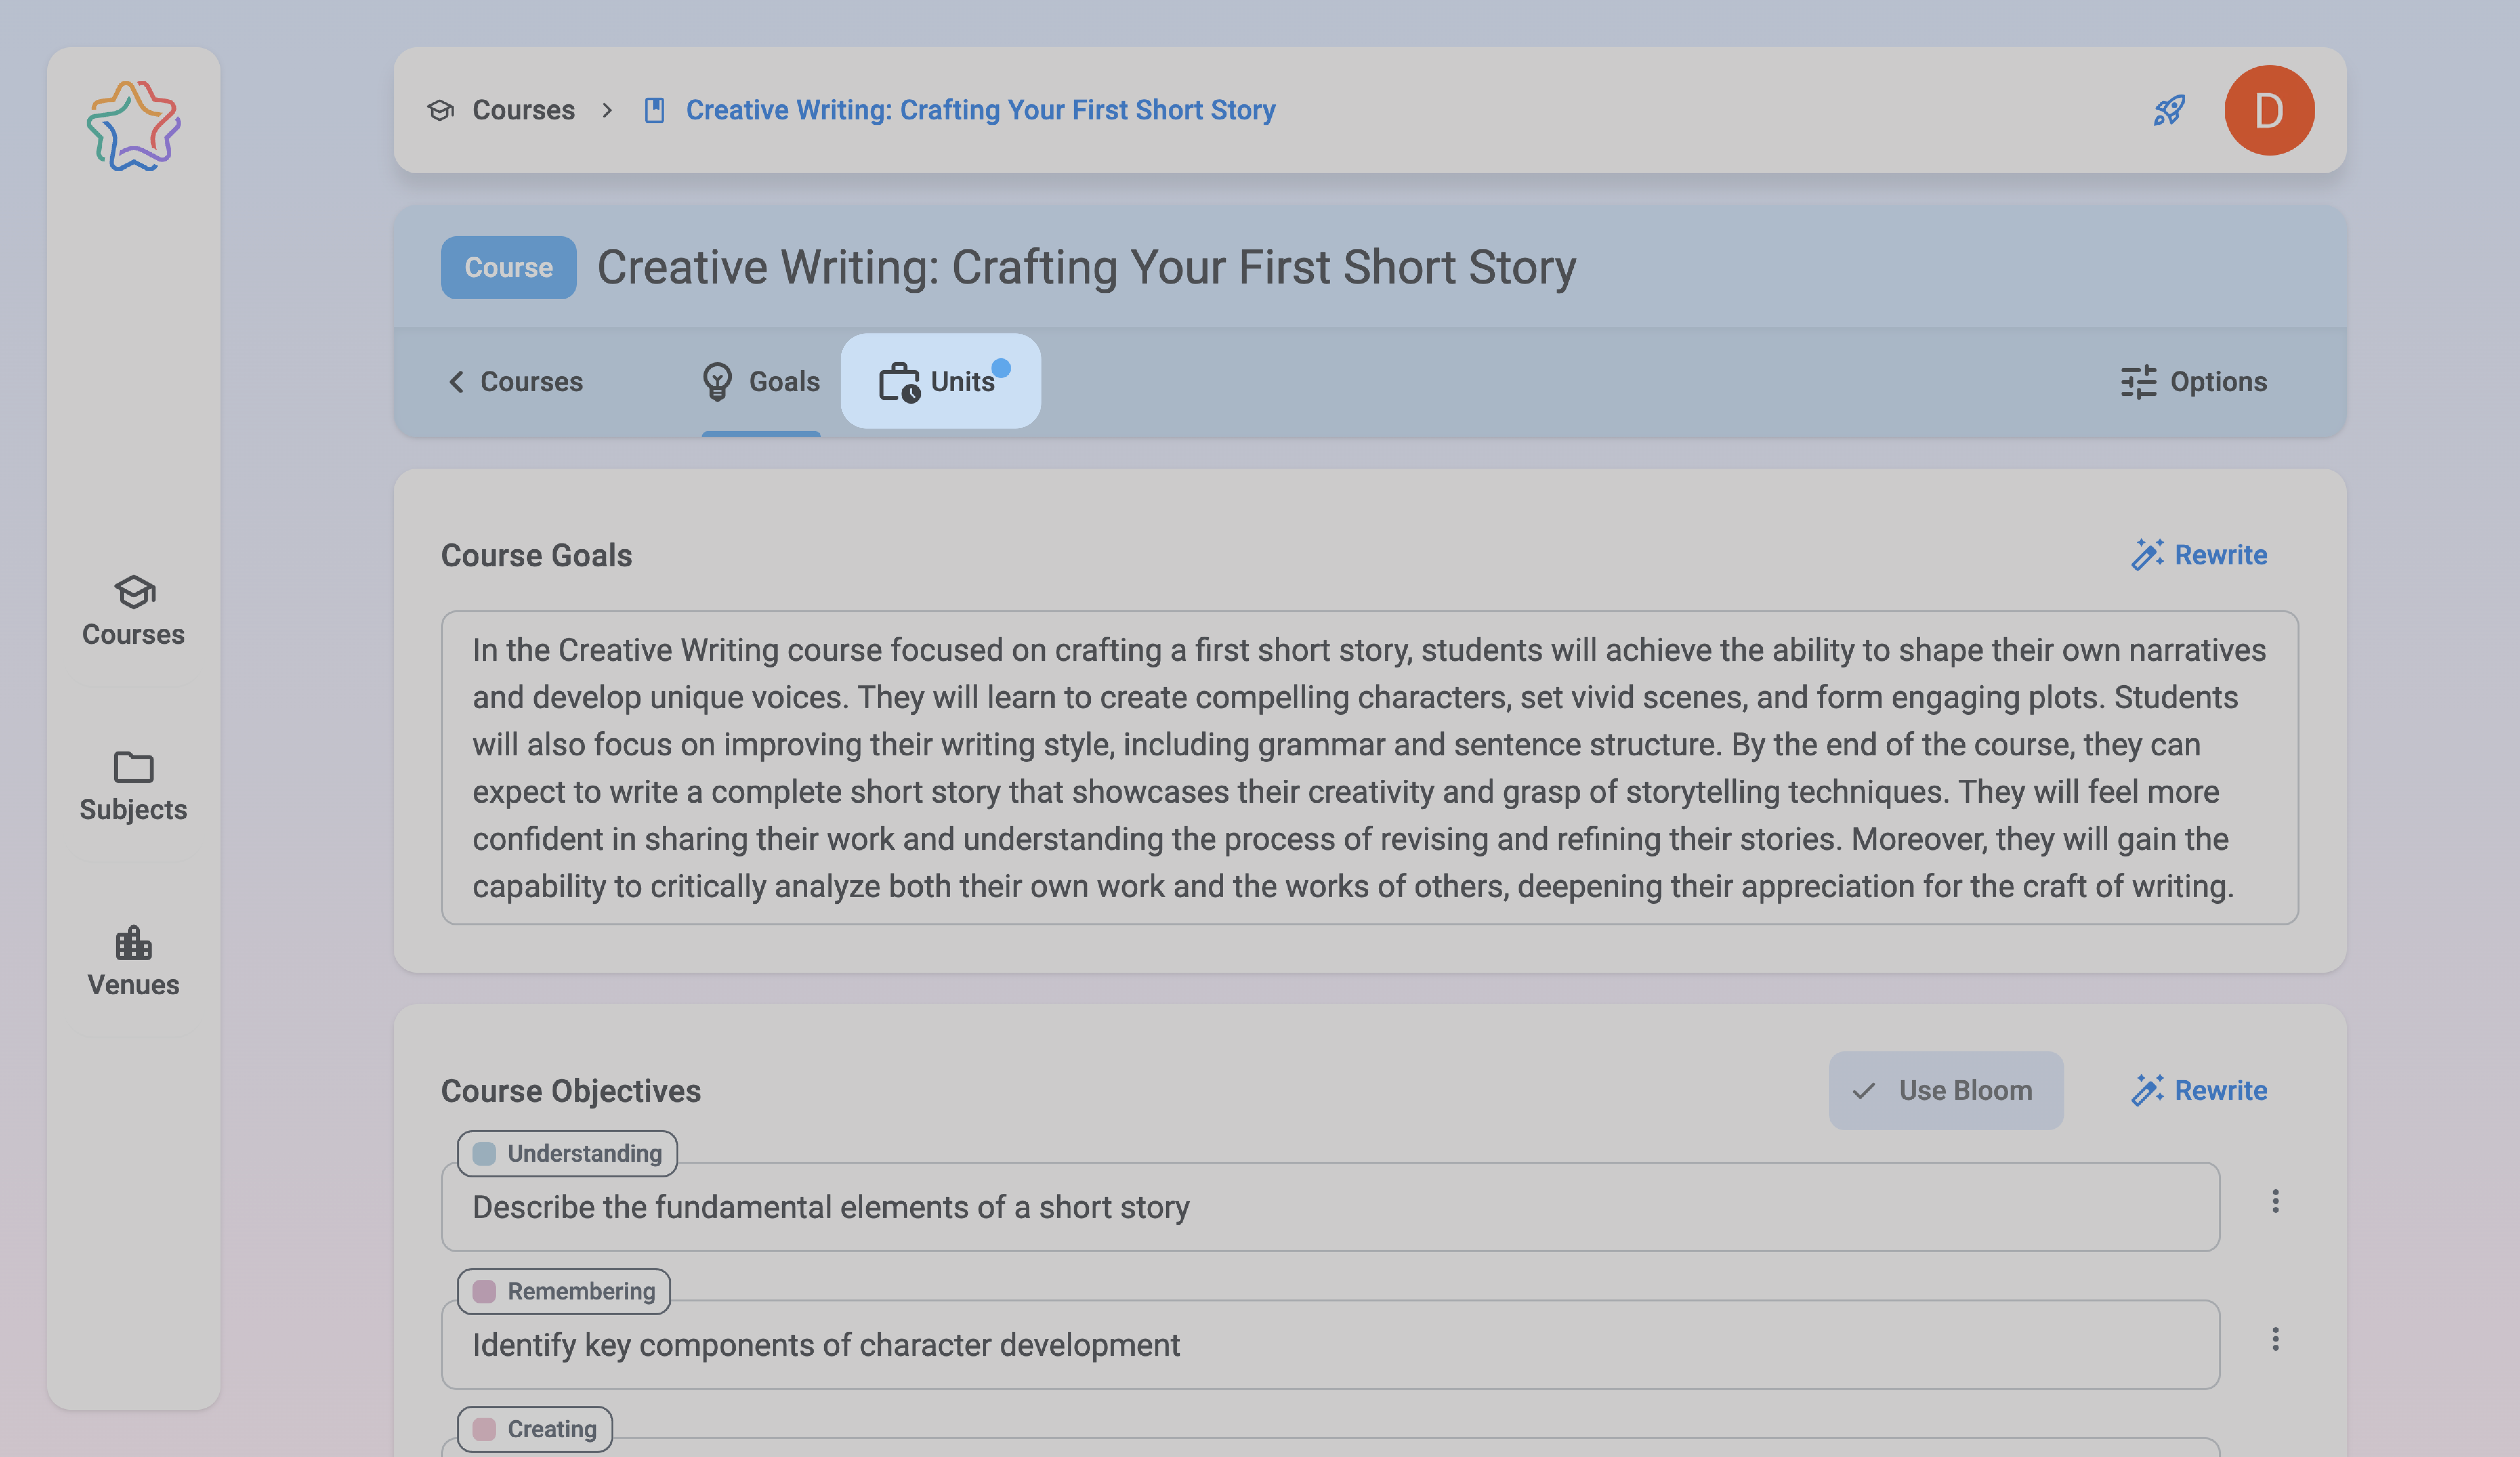
- Alternatively, use the "Units" tab in the header.
Step 7: Using the Rewrite Button
The Rewrite button is available for each block (Goals, Objectives, Outcomes) and allows you to regenerate content using AI while maintaining the structure of your course.
How to Use the Rewrite Button
1. Locate the "Rewrite" button next to the block you want to update.
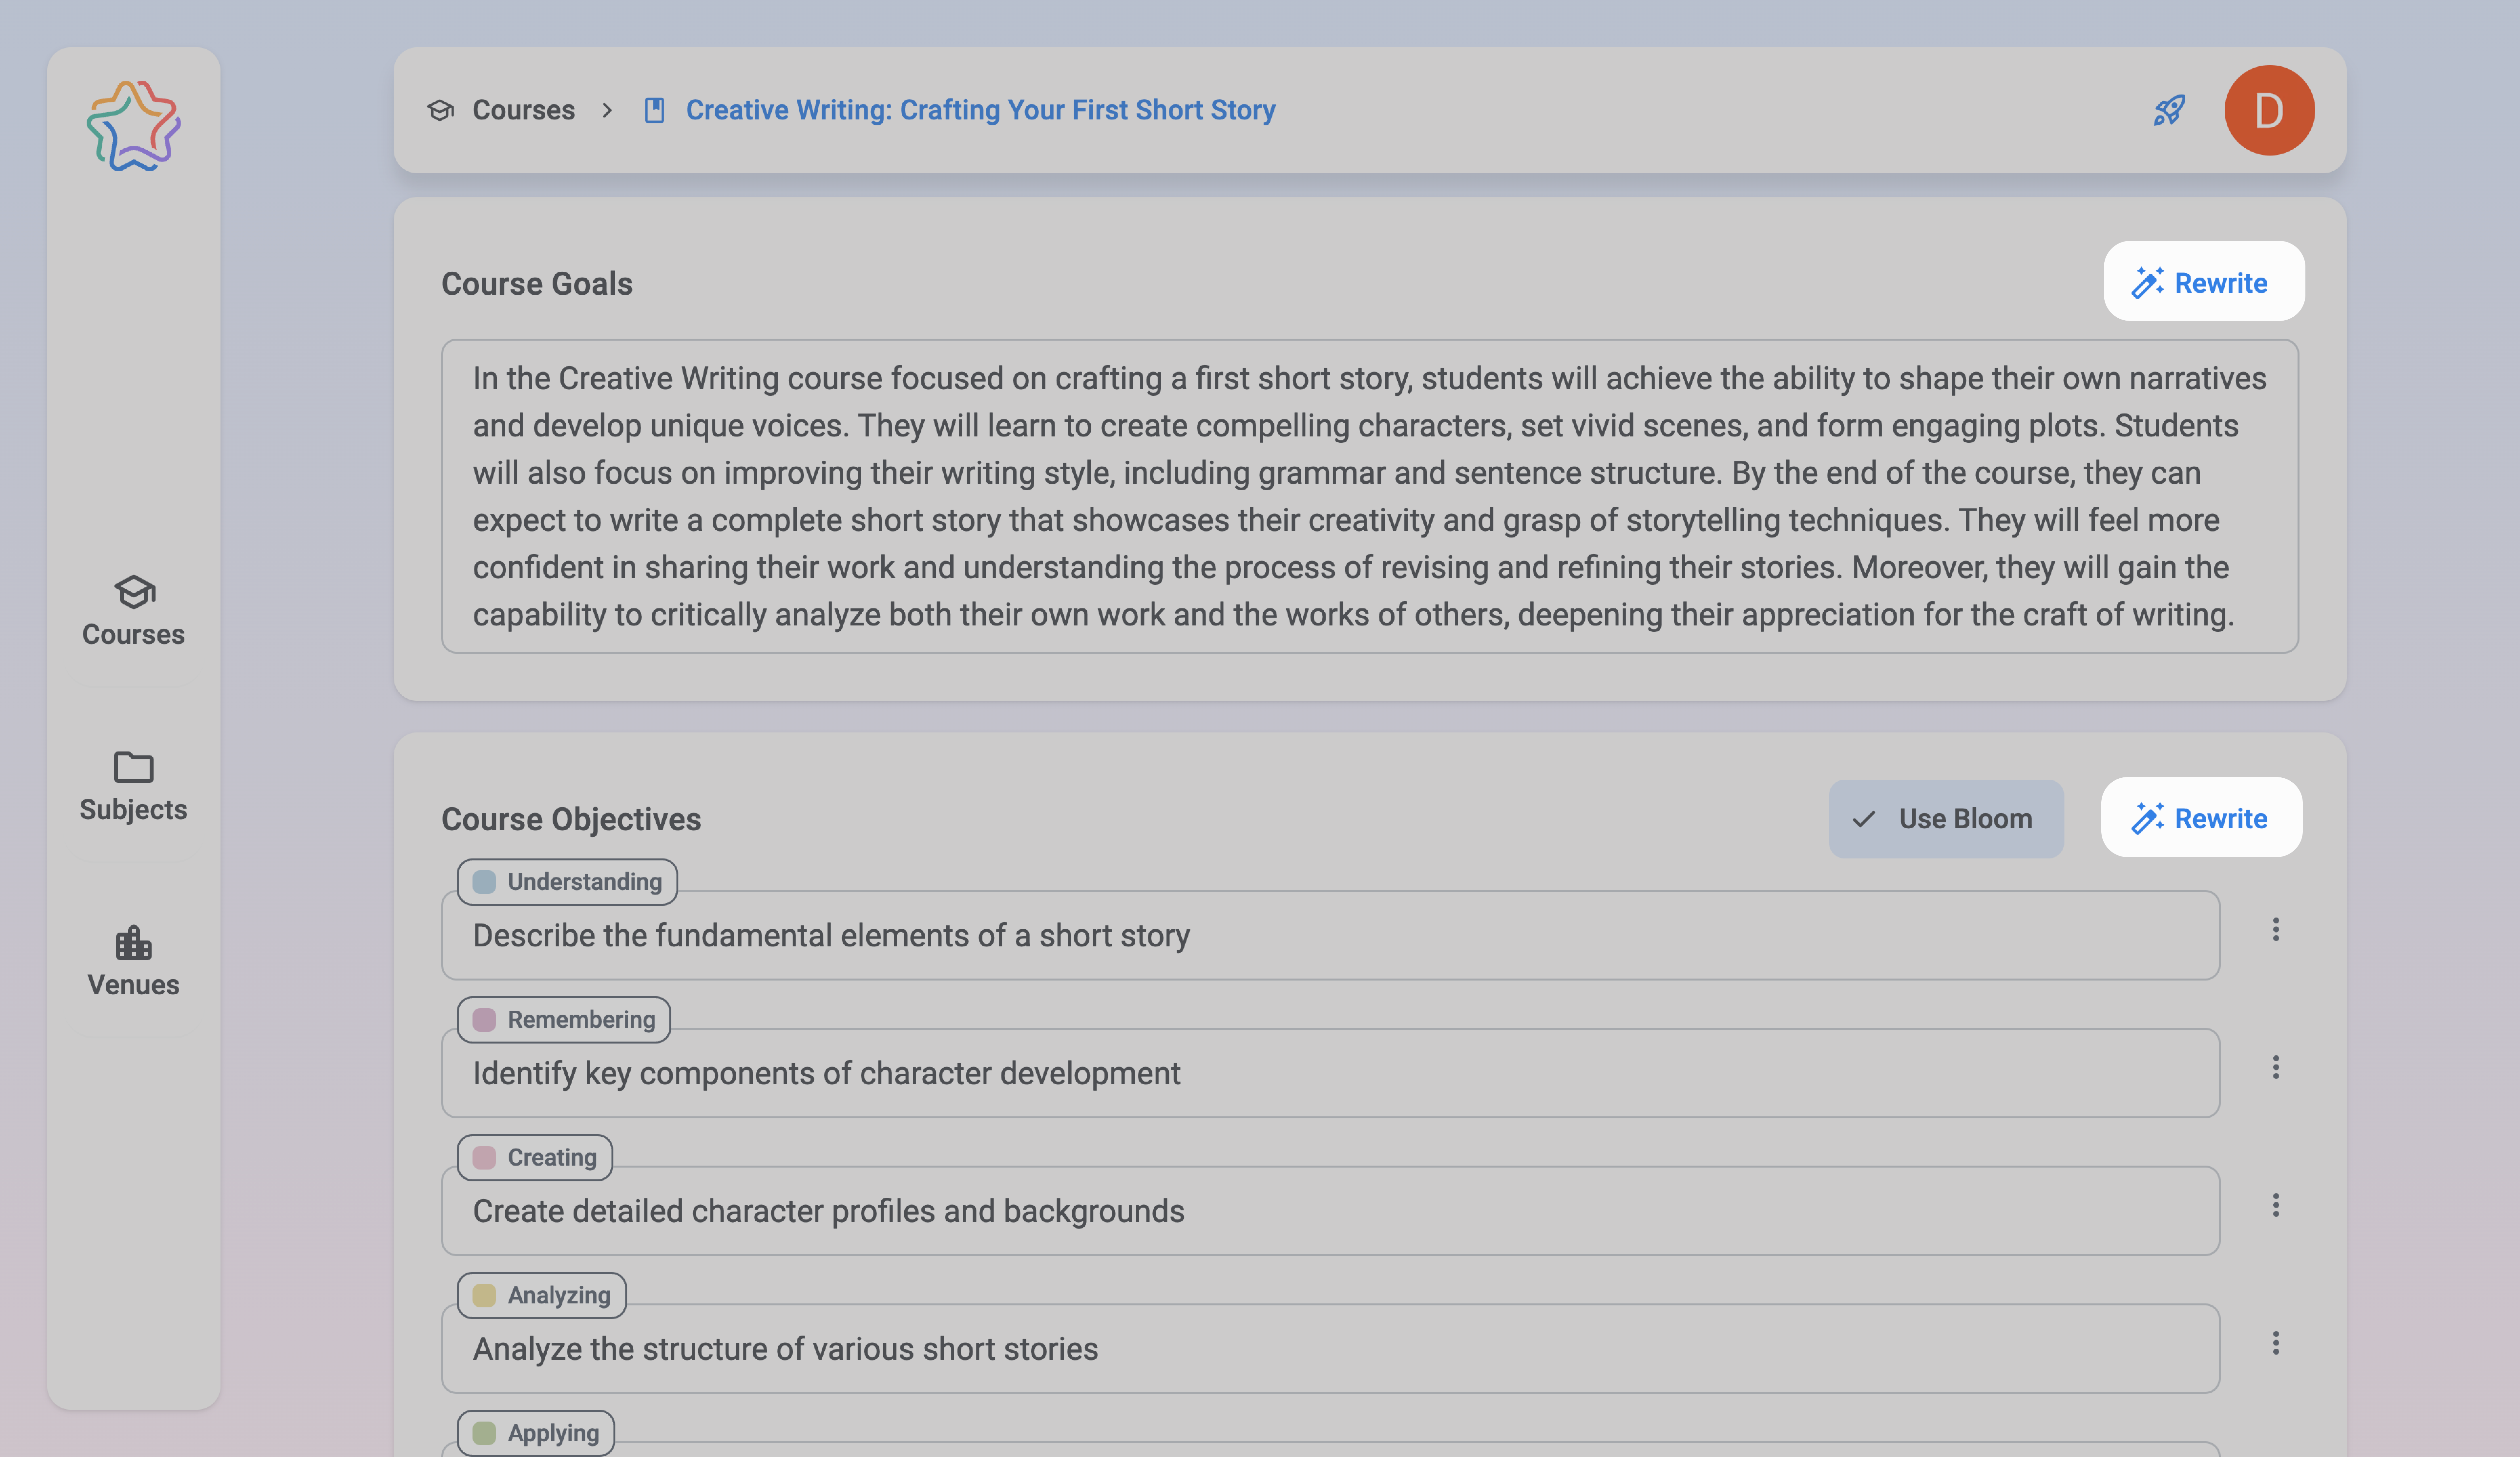
2. Click the button to open a confirmation modal. The modal will display a warning that the existing content will be overwritten.
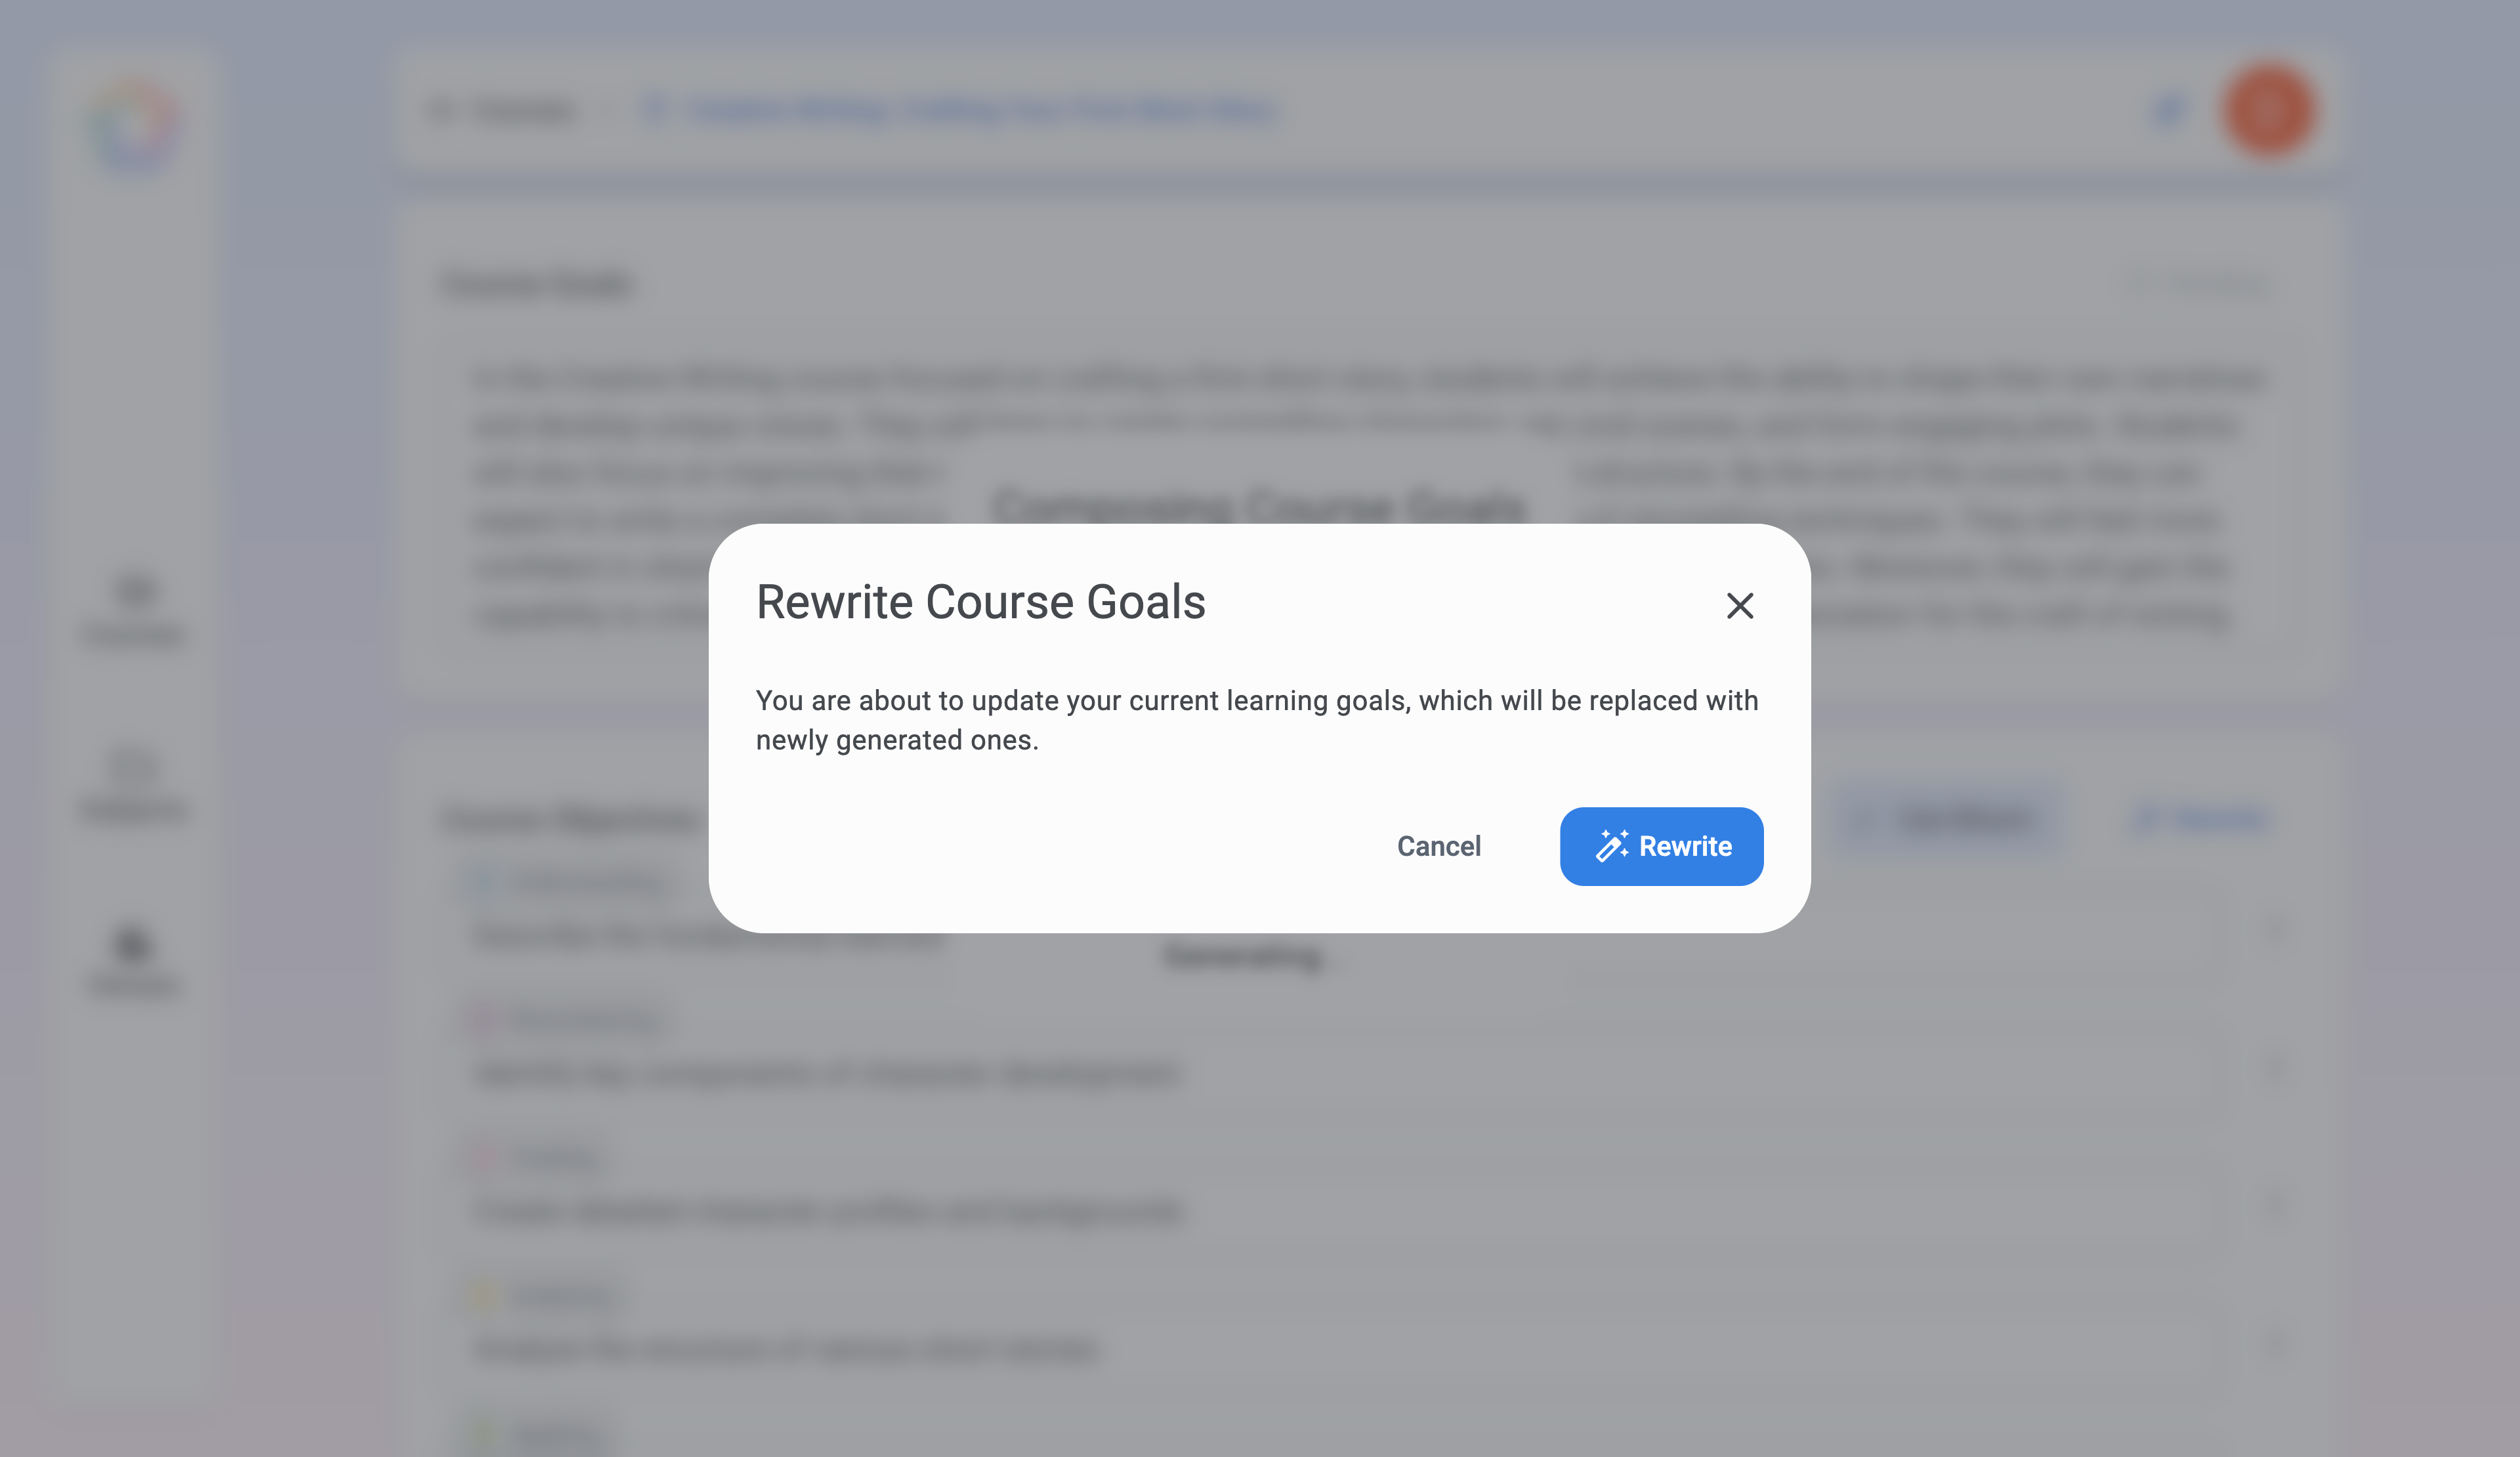
Choose one of the following actions:
- Rewrite: Proceeds with overwriting the current content. AI generates new content based on the provided course details.
- Cancel: Keeps the existing content and exits the modal.
- X: Closes the modal window
🔎 Note
The Rewrite feature is helpful for updating content when your course goals or needs change, such as refining course objectives to match updated course goals.
Step 8: Additional Features and Tips
- Compose All: Generate all blocks simultaneously using AI for a quick start.
- Rewrite Buttons: Available for each block to help refine content.
- Confirmation Modals: Prevent accidental overwrites during Compose or Rewrite actions.
💡Pro Tip
Regularly review generated content to ensure it aligns with your course's goals. Manual adjustments add a personal touch and make the course more unique.
By following these steps, you can efficiently structure learning objectives for your course, leveraging both manual entry and AI tools to suit your needs. Once complete, proceed to the Units page to continue course planning.