How to Create a Course
Creating a whole course has never been easier! With EdSyl's AI-powered platform, you can create an entire course in just three steps. This guide will walk you through the simple steps of setting up your course, generating objectives, and creating structured units and lessons.
Course Creation
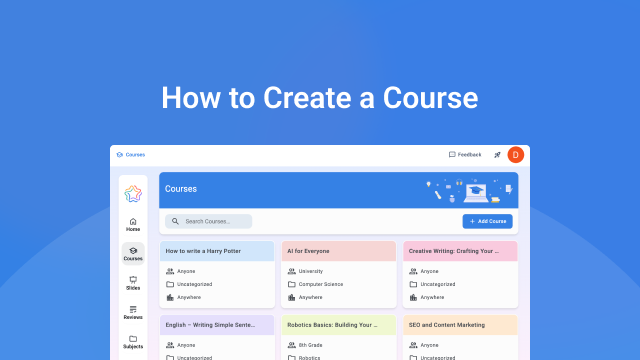
You can create a new course on the Home page by clicking Add Course on the Courses card. Alternatively, you can go to the Courses page and click Add Course there. Both options open the same setup window where you can create a course from scratch or upload an existing one to refine with EdSyl.
Create a New Course
After clicking the Add Course button and selecting Create, you begin by filling in the basic course information, which includes:
- What is your course title?
- What is your course subject area?
- Who is your course designed for?
- What language will you be teaching in?
Next, you will be given the option to generate a course plan with the AI Assistant or complete it manually.
❗ Note: This information is essential for the AI Assistant to suggest the most relevant and tailored content for your course.
Creating a Course Plan with the AI Assistant
When you choose to create a course with AI, you have the option of adding your own preferences to make the results even more precise. Then, the magic begins: You'll see the learning expectations for your course take shape before your eyes.
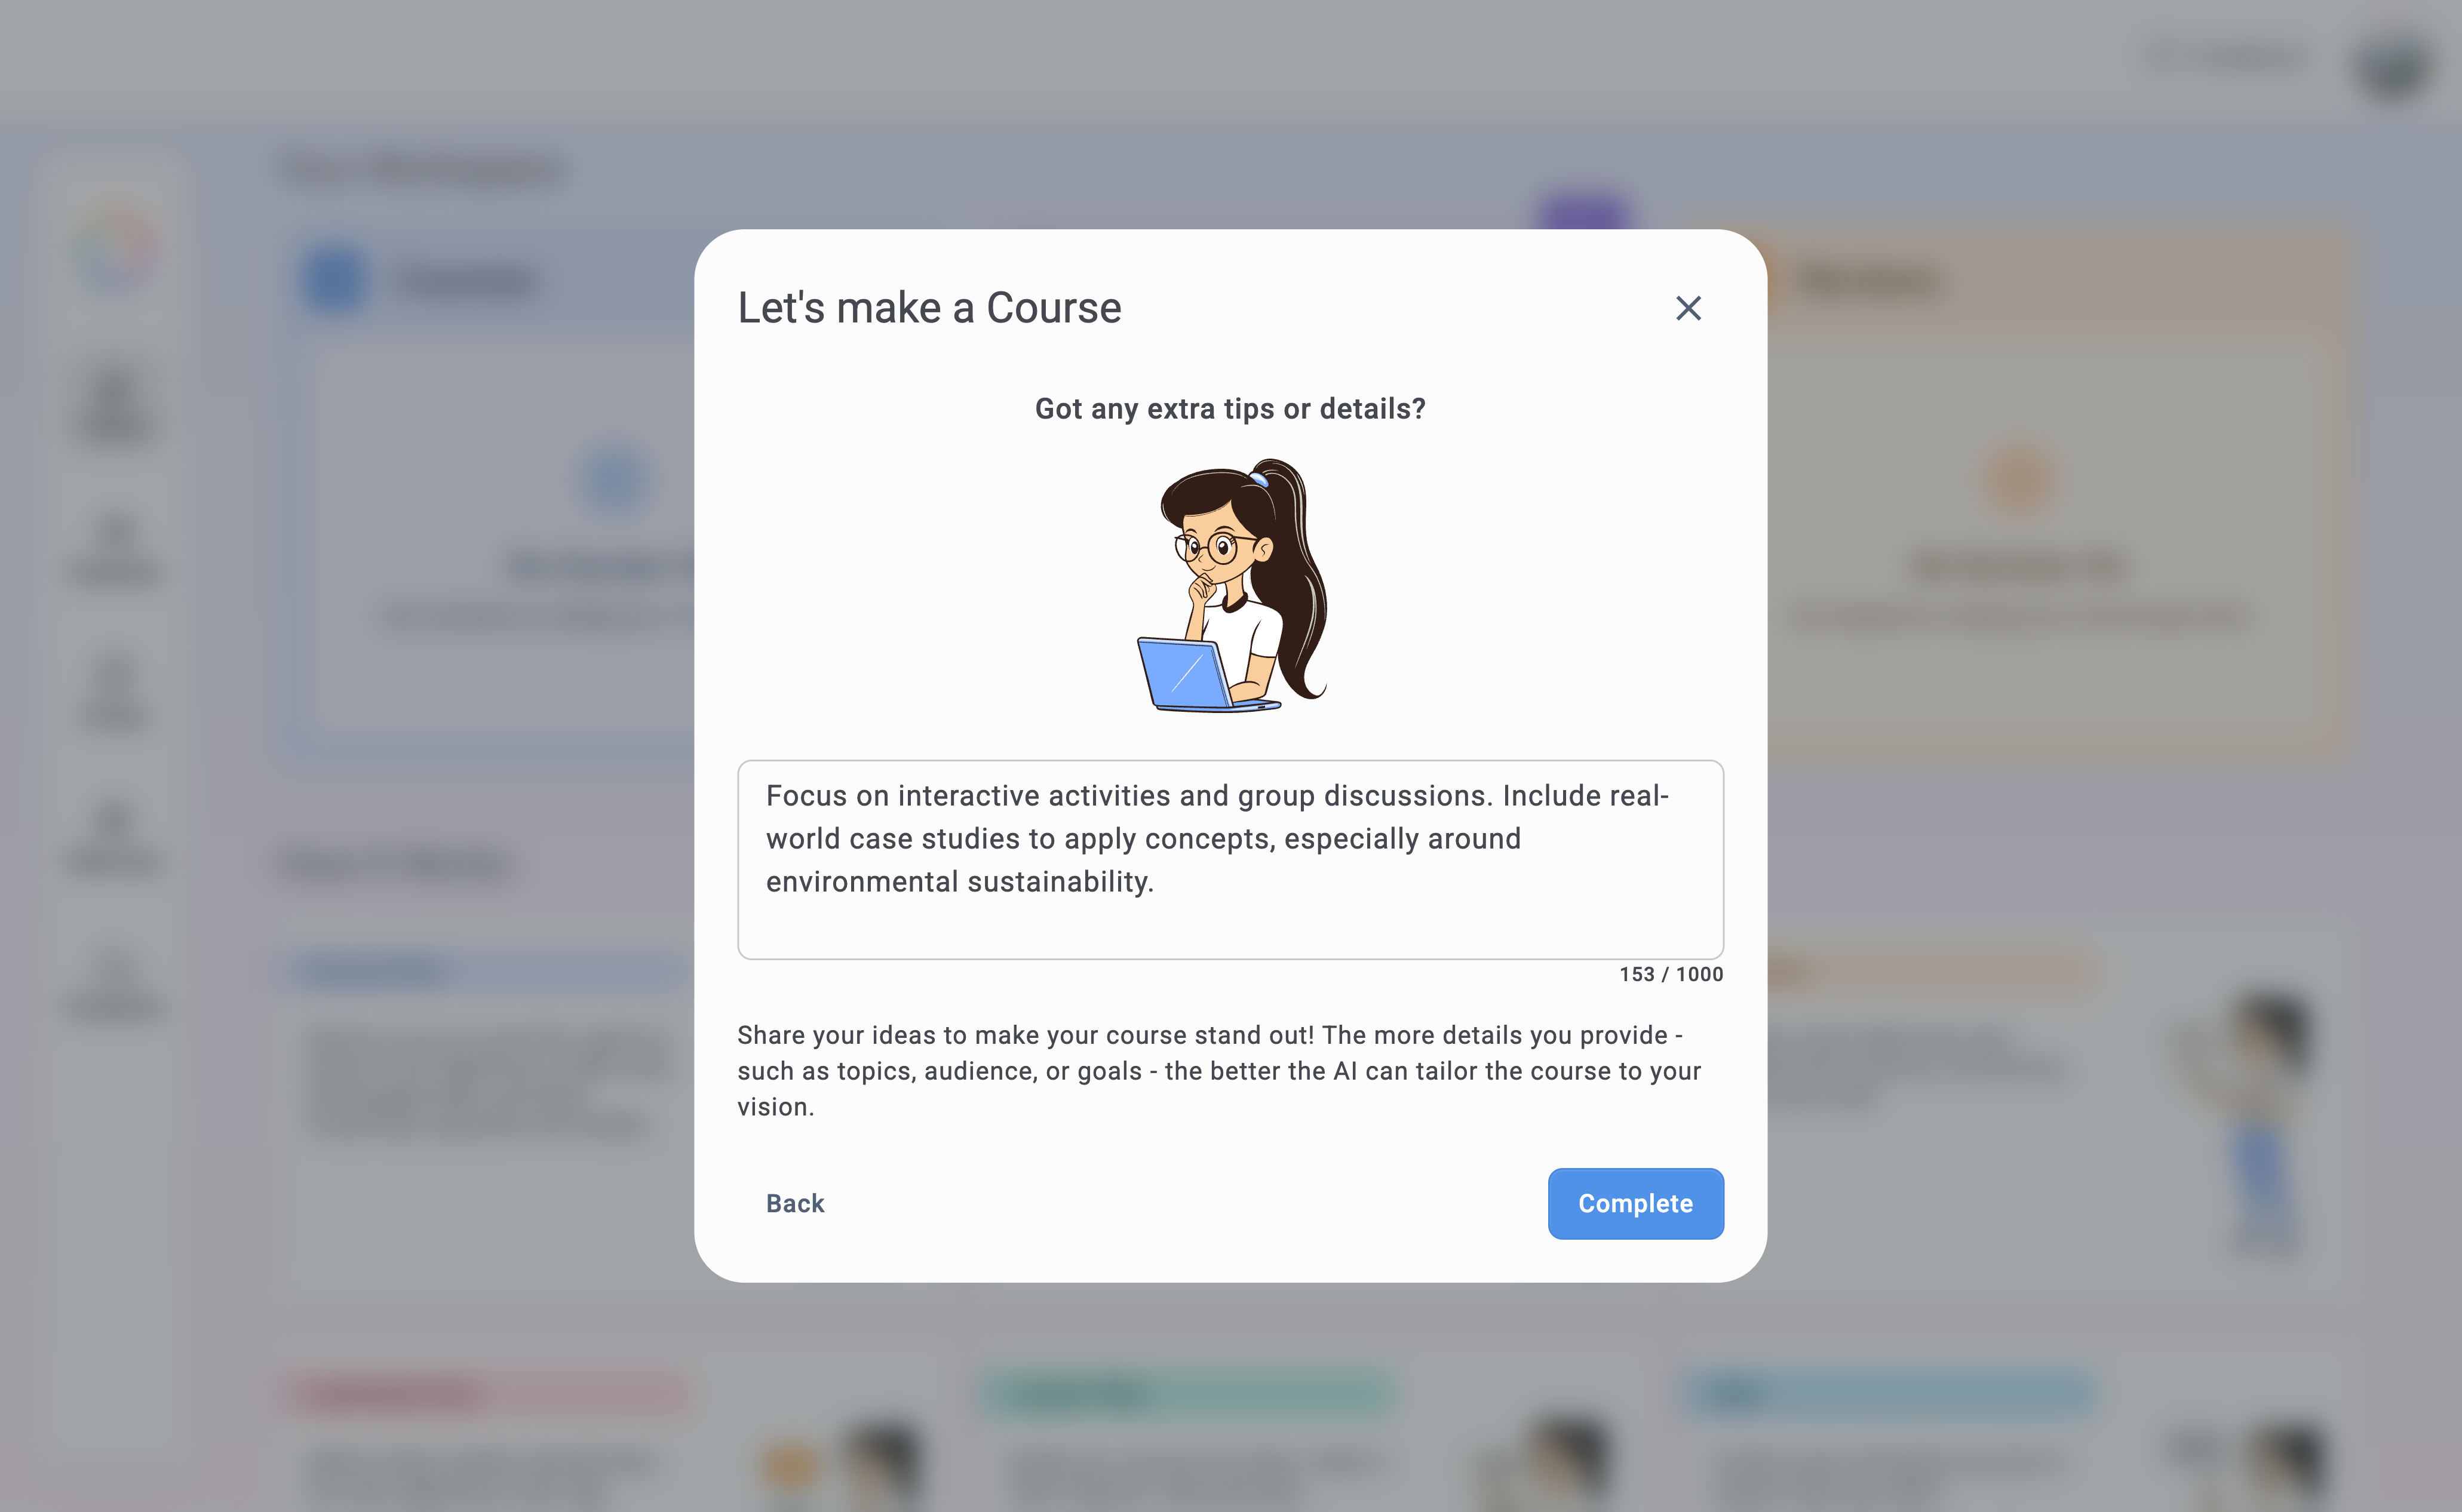
Learning expectations:
The learning expectations for your course are now ready. EdSyl will use them as the foundation for generating units, lessons, and learning materials. At this stage, you can:
- Edit the learning expectations
- Revise them with adjustments or comments, if needed
- Work through each section individually. You can use our AI Assistant to refine your ideas (Learn how to work with Learning expectations)
Creating a Unit Plan
Next, click on Units to start building your plan. Select Generate, and a settings window will open:
- Enter how many units you need in your course
- Define how many lessons should be included in each unit, then click Compose
❗ Note: You can create units without lessons. Simply uncheck the box in the modal window.
Working with Units and Lessons
Watch as your course is organized into units and lessons based on your learning expectations. Each unit and lesson has clear goal, objectives and outcomes. What's next:
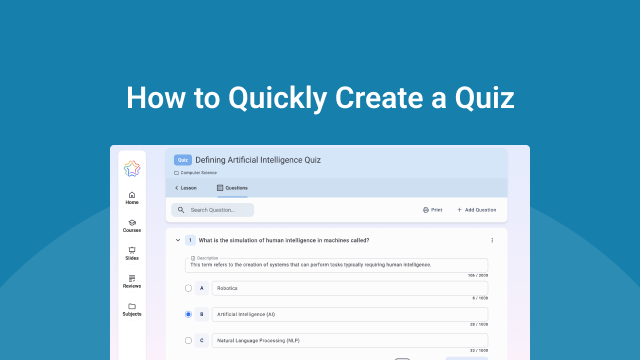
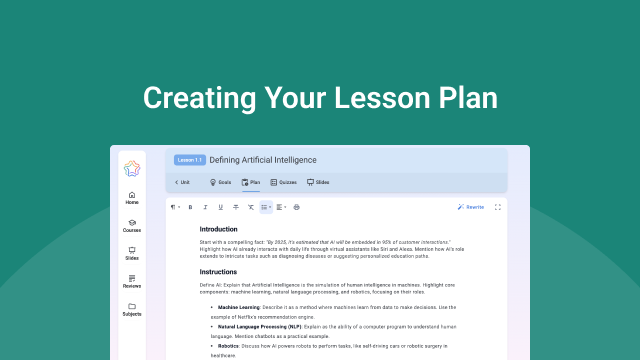
- Edit units and lessons. You can dive into a lesson to create its Lesson plan, prepare a quiz, or build a presentation
- Click the Rewrite button to change the overall structure of the units and lessons
- Work with each unit individually
- Use the Magic Wand icon in each learning expectation section to rewrite the goals, objectives, and outcomes
- Click the Add Unit button to add a unit manually, or click the Suggest button to let the AI assistant surprise you
- Organize the order of units by rearranging them
❗ At EdSyl, we believe that teachers should have complete control over the course creation process, whether they're building everything from scratch or using the AI Assistant.
Create a Course from Scratch
If you select Create from Scratch in the wizard, you will complete each step independently:
Define the learning expectations for the course
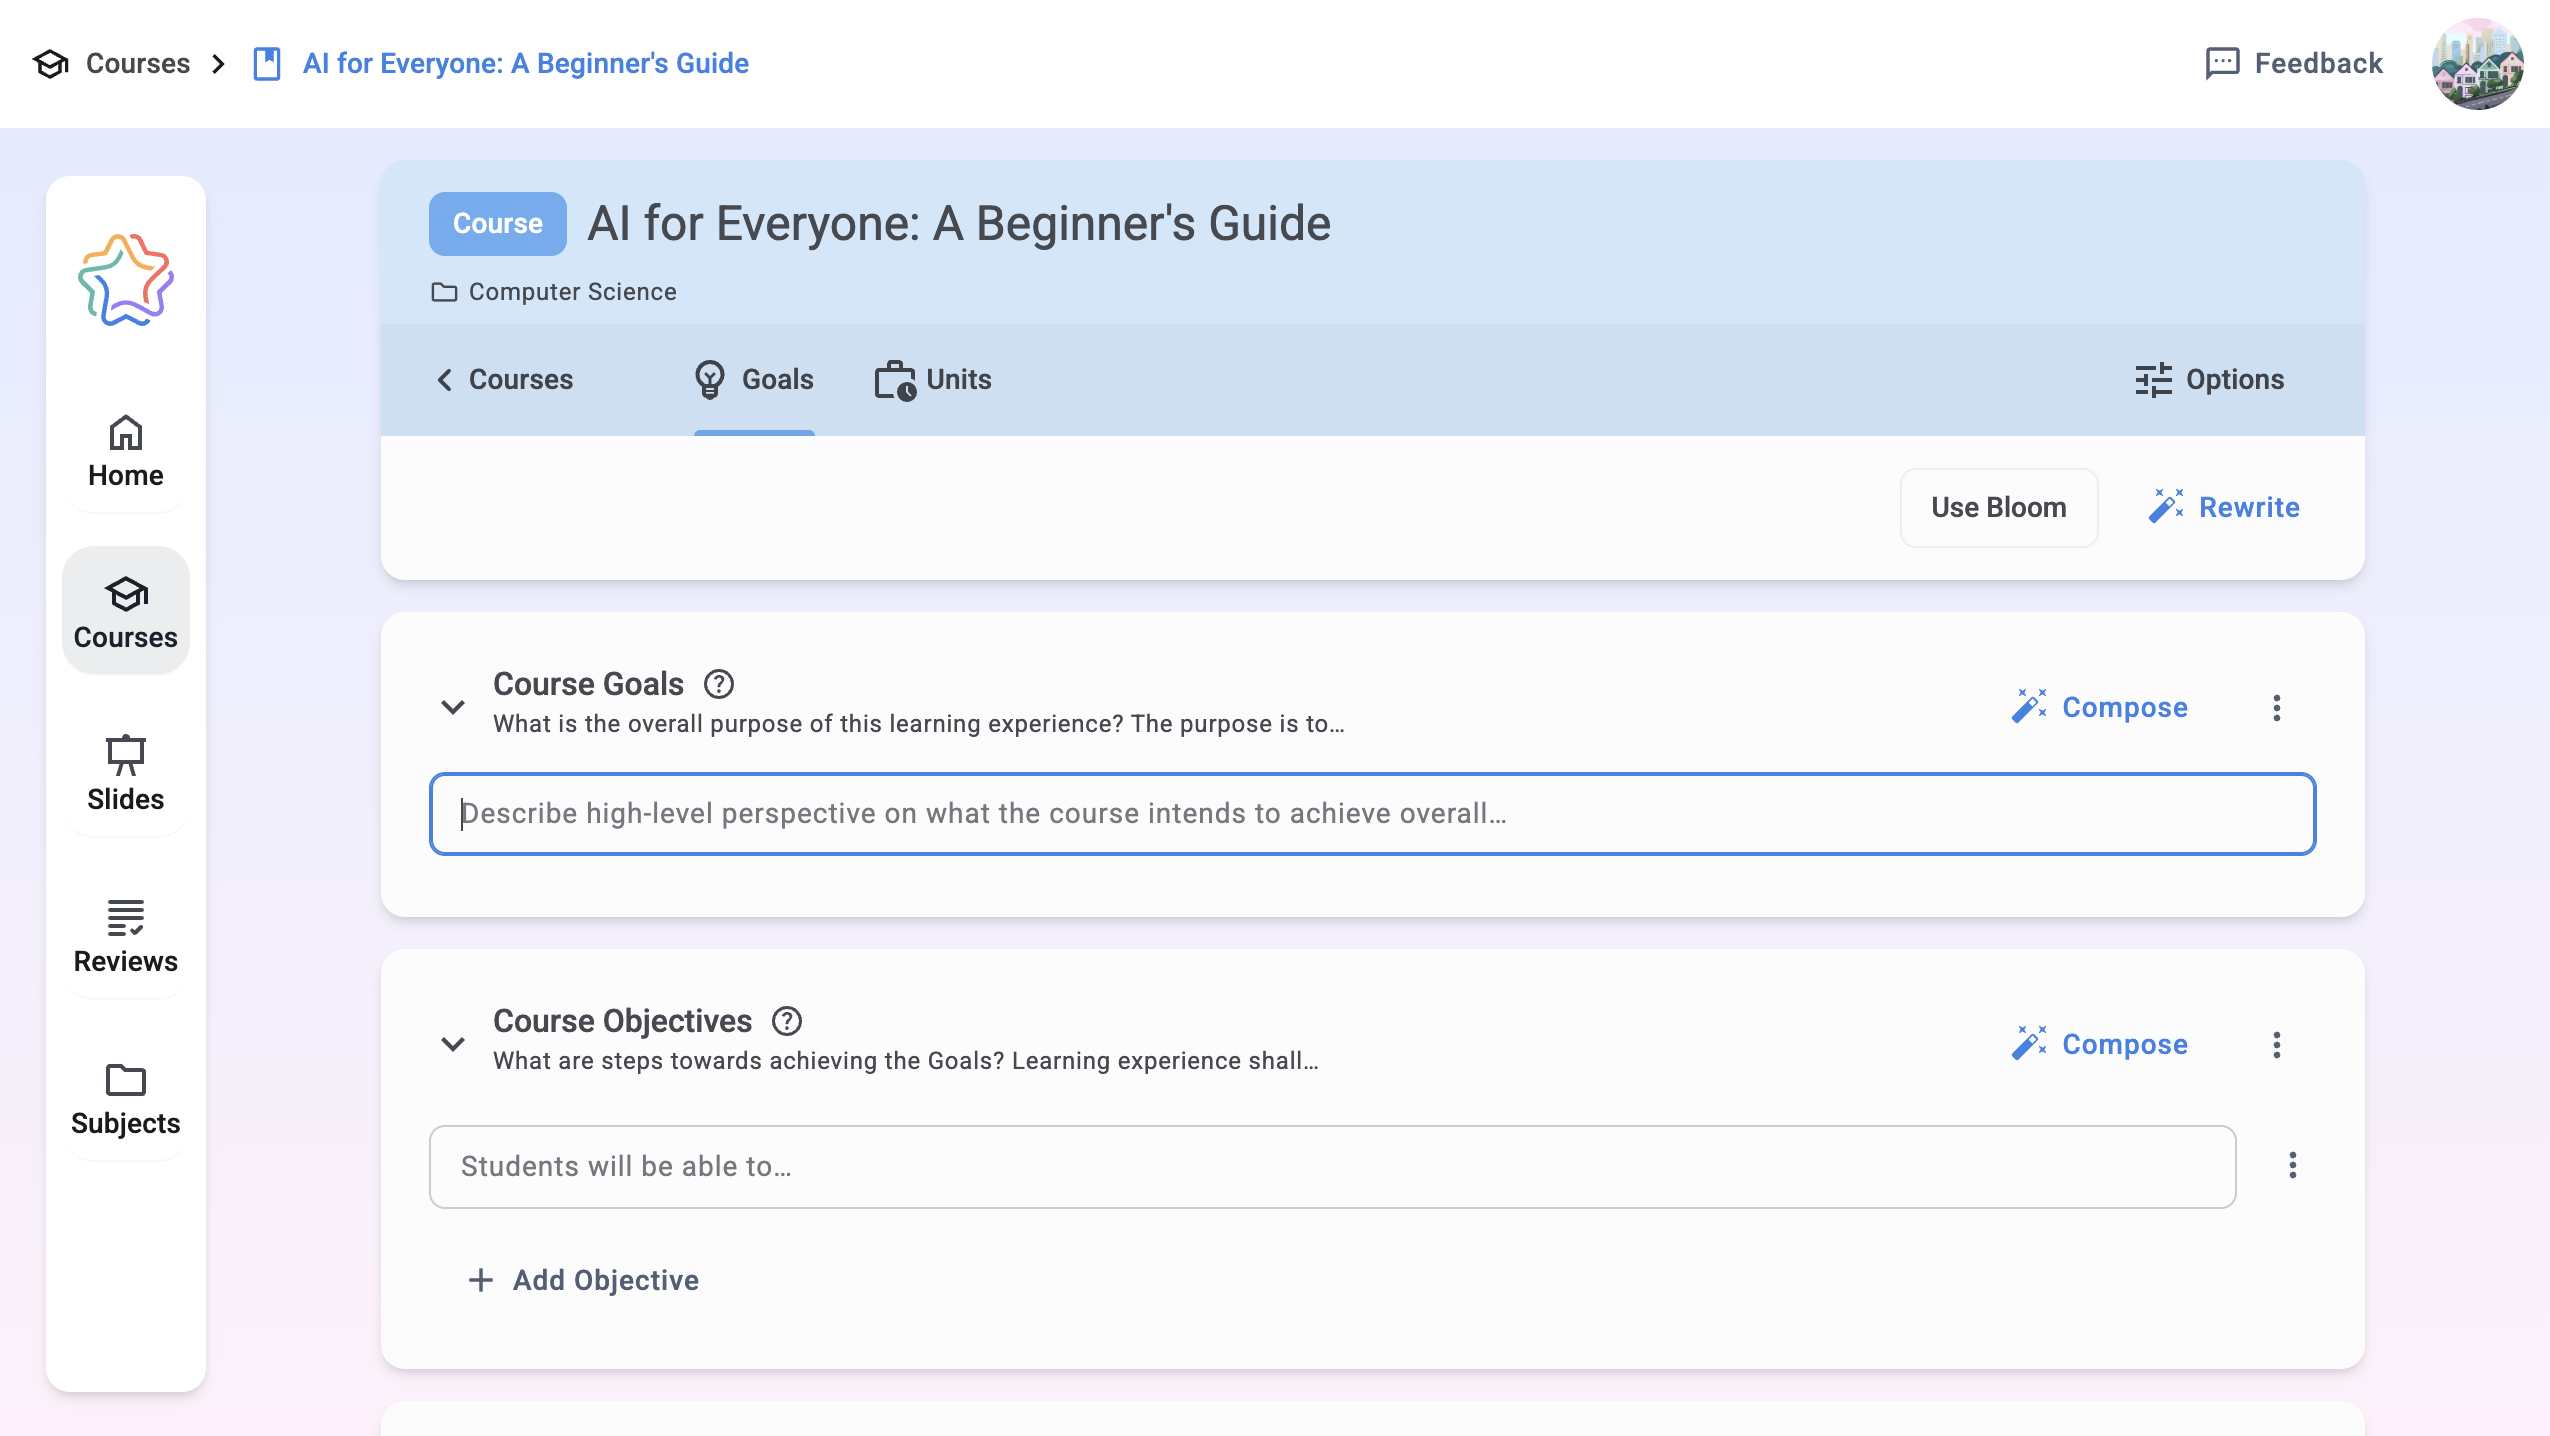
Begin by setting what learners should achieve by the end of the course. Open the Goals tab inside the course and fill in the Course Goals, Objectives, and Outcomes. This will give your course a clear direction and help you measure student progress.
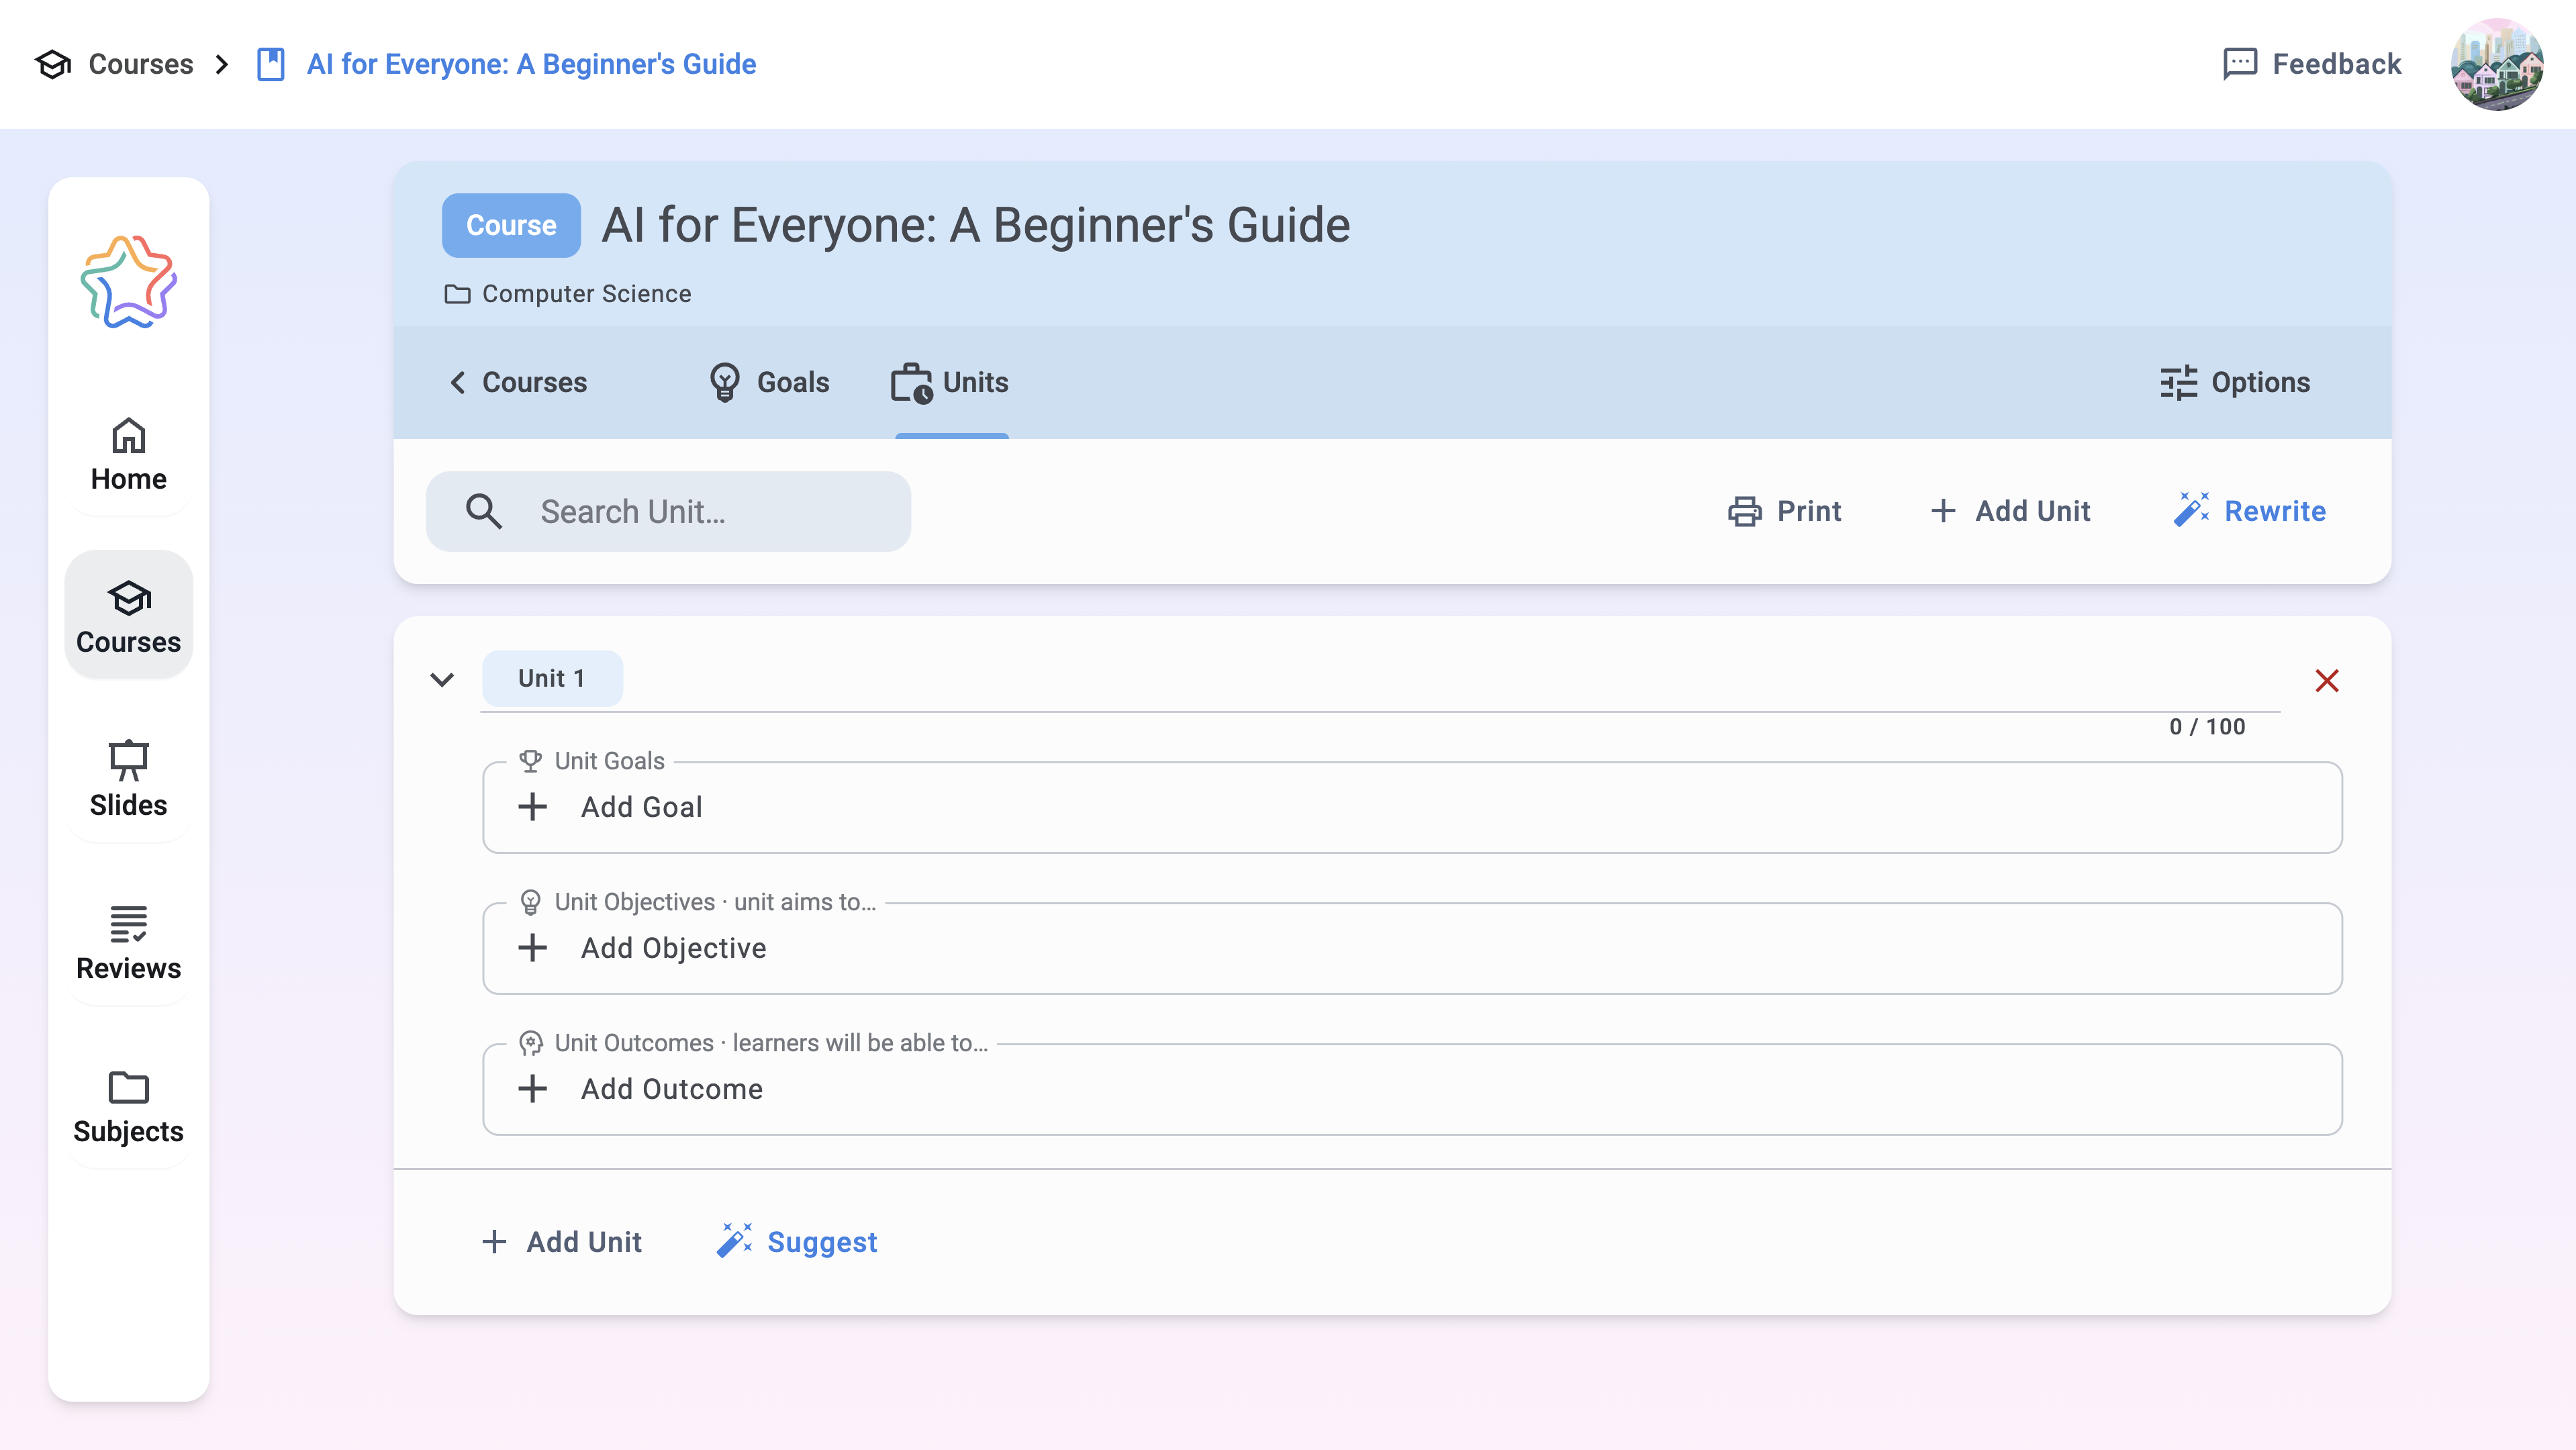
Break the course into units
Go to the Units tab and divide your course into logical sections or topics. Add the name of each unit. These will serve as the main structural parts of your course.
Open a unit to define its learning expectations
To start working on a specific unit, click the redirect icon in the top-right corner of the unit section or simply click the unit title. Inside the unit, open the Goals tab and describe what students should learn within this part of the course.
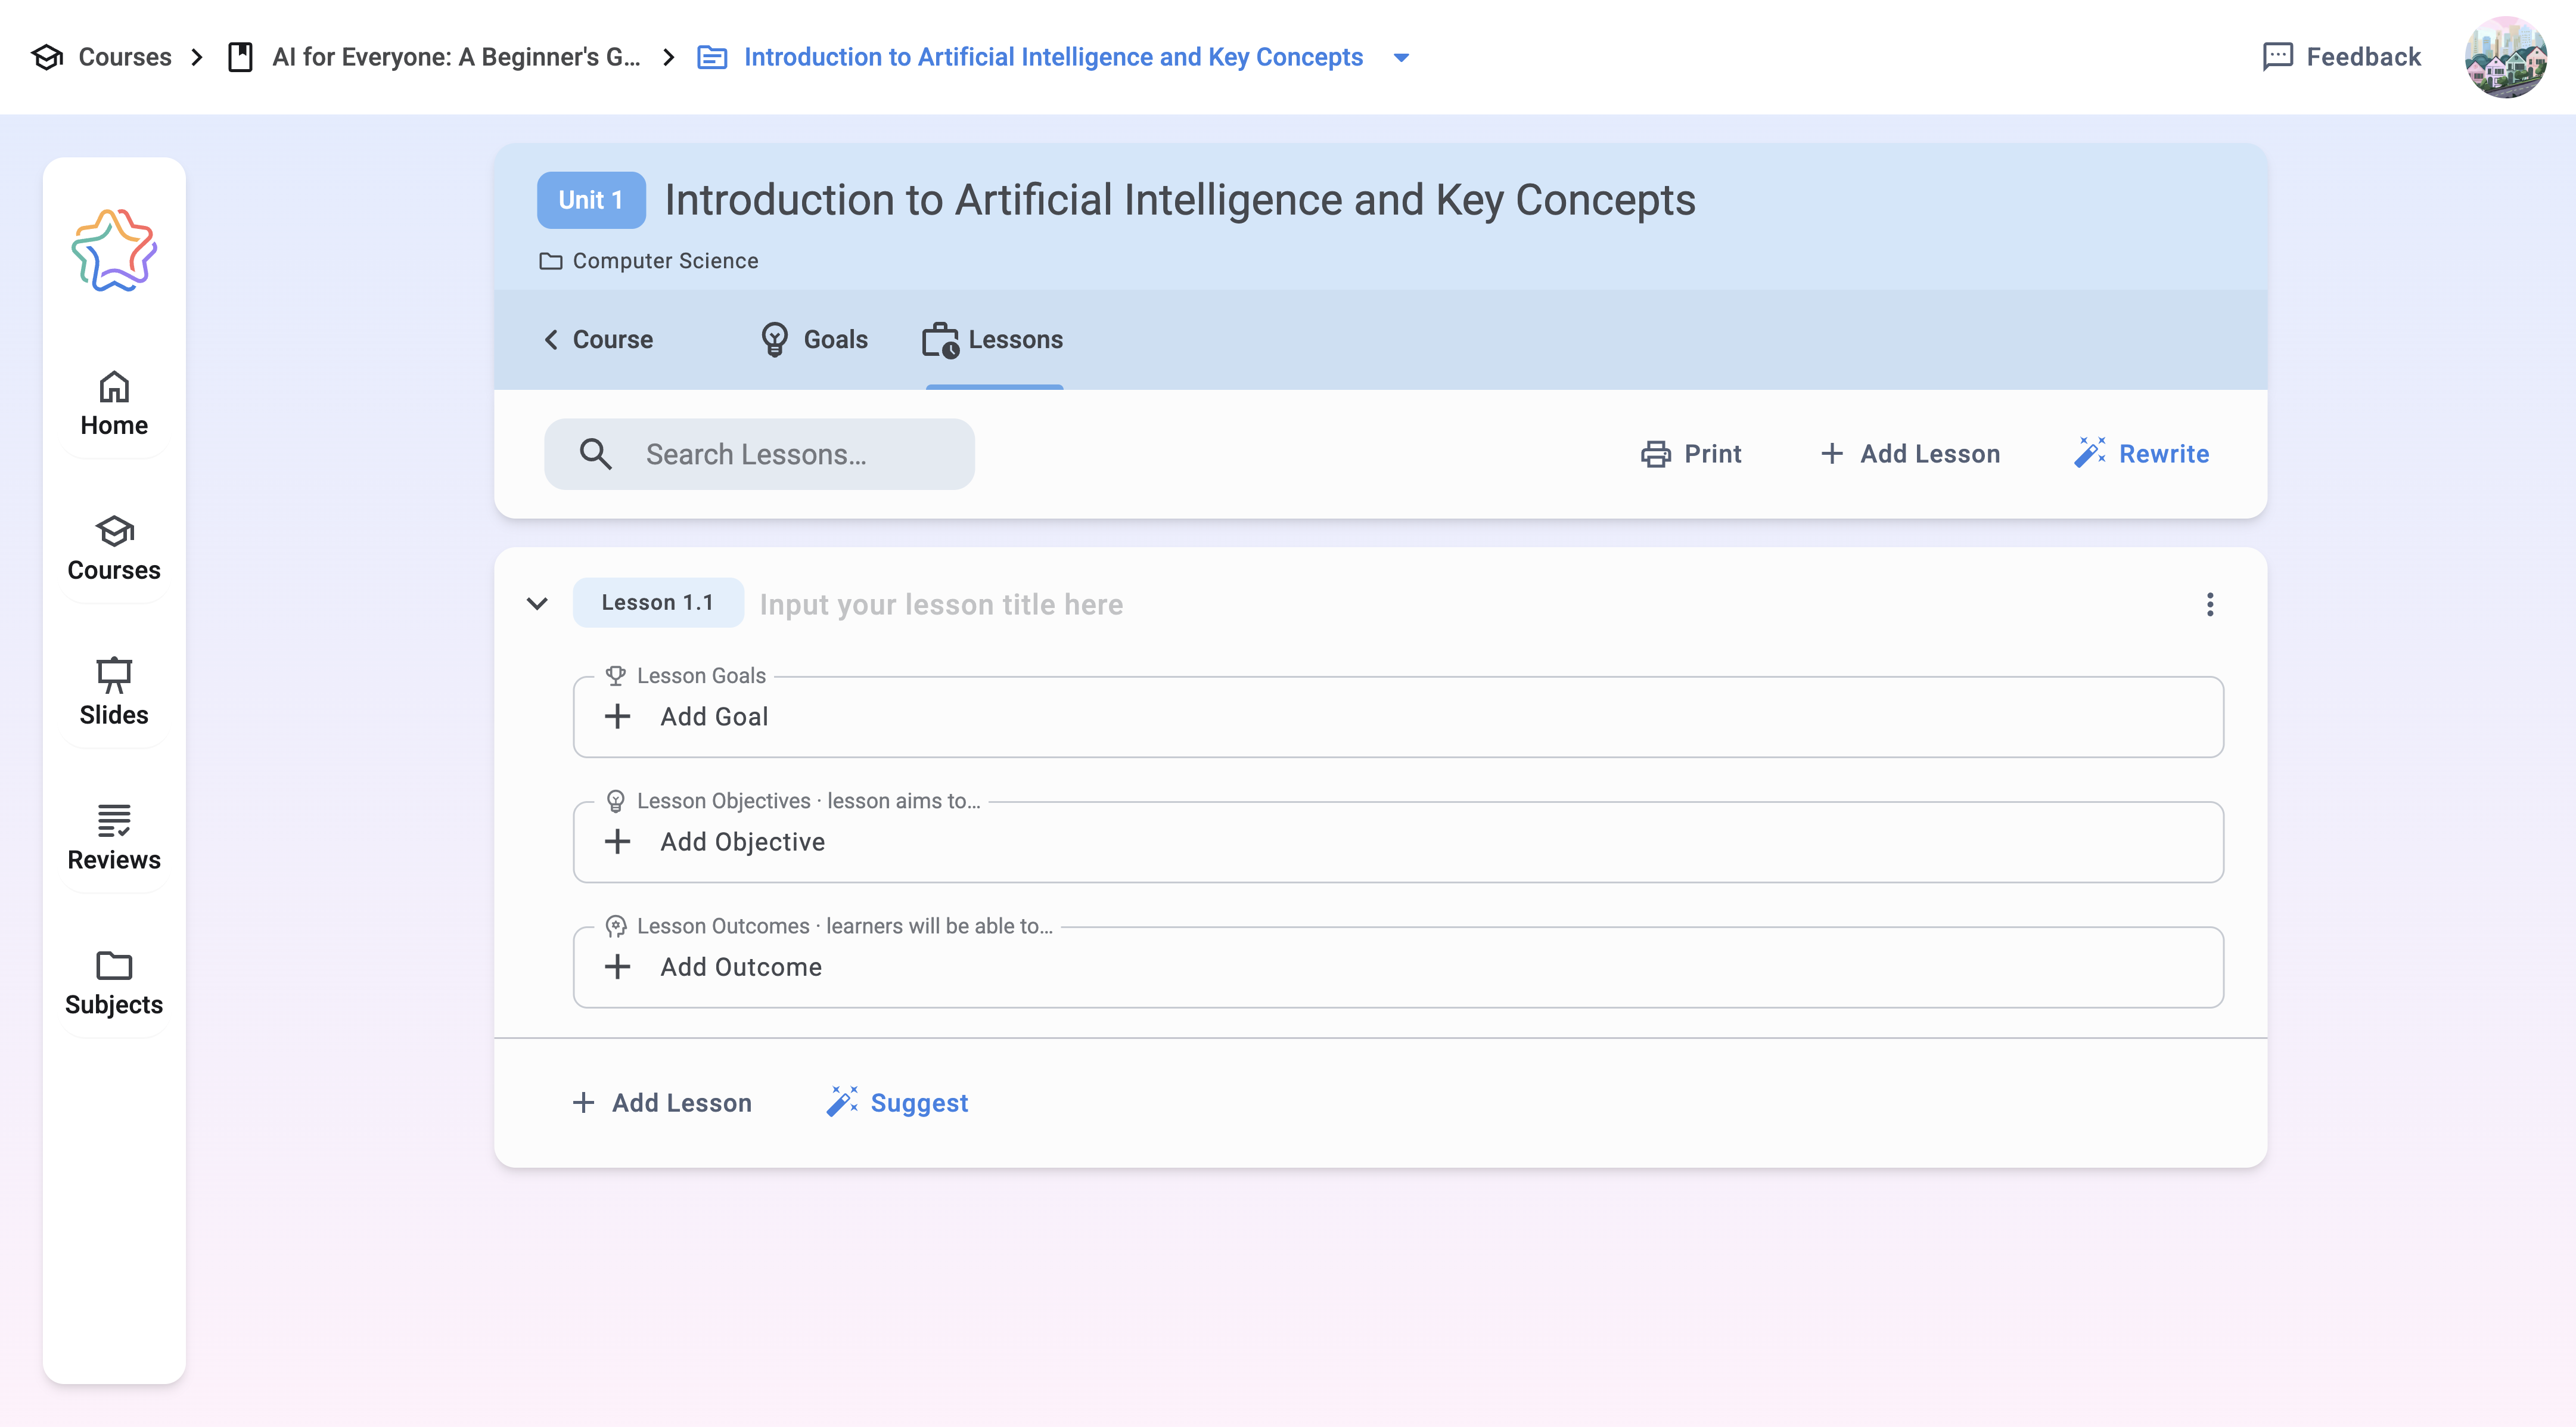
Divide each unit into lessons
Inside the selected unit, open the Lessons tab and create individual lessons. Give each lesson a clear and concise title that reflects its main focus.
Open a lesson to begin editing
Click the lesson title to open it and start adding content. In the Goals tab within the lesson, set the learning expectations specific to that lesson.
Add lesson details and materials
Once your lesson goals are ready, you can include additional components such as a lesson plan, quizzes, materials, or slides. These elements help make your lessons more engaging and provide a complete learning experience.
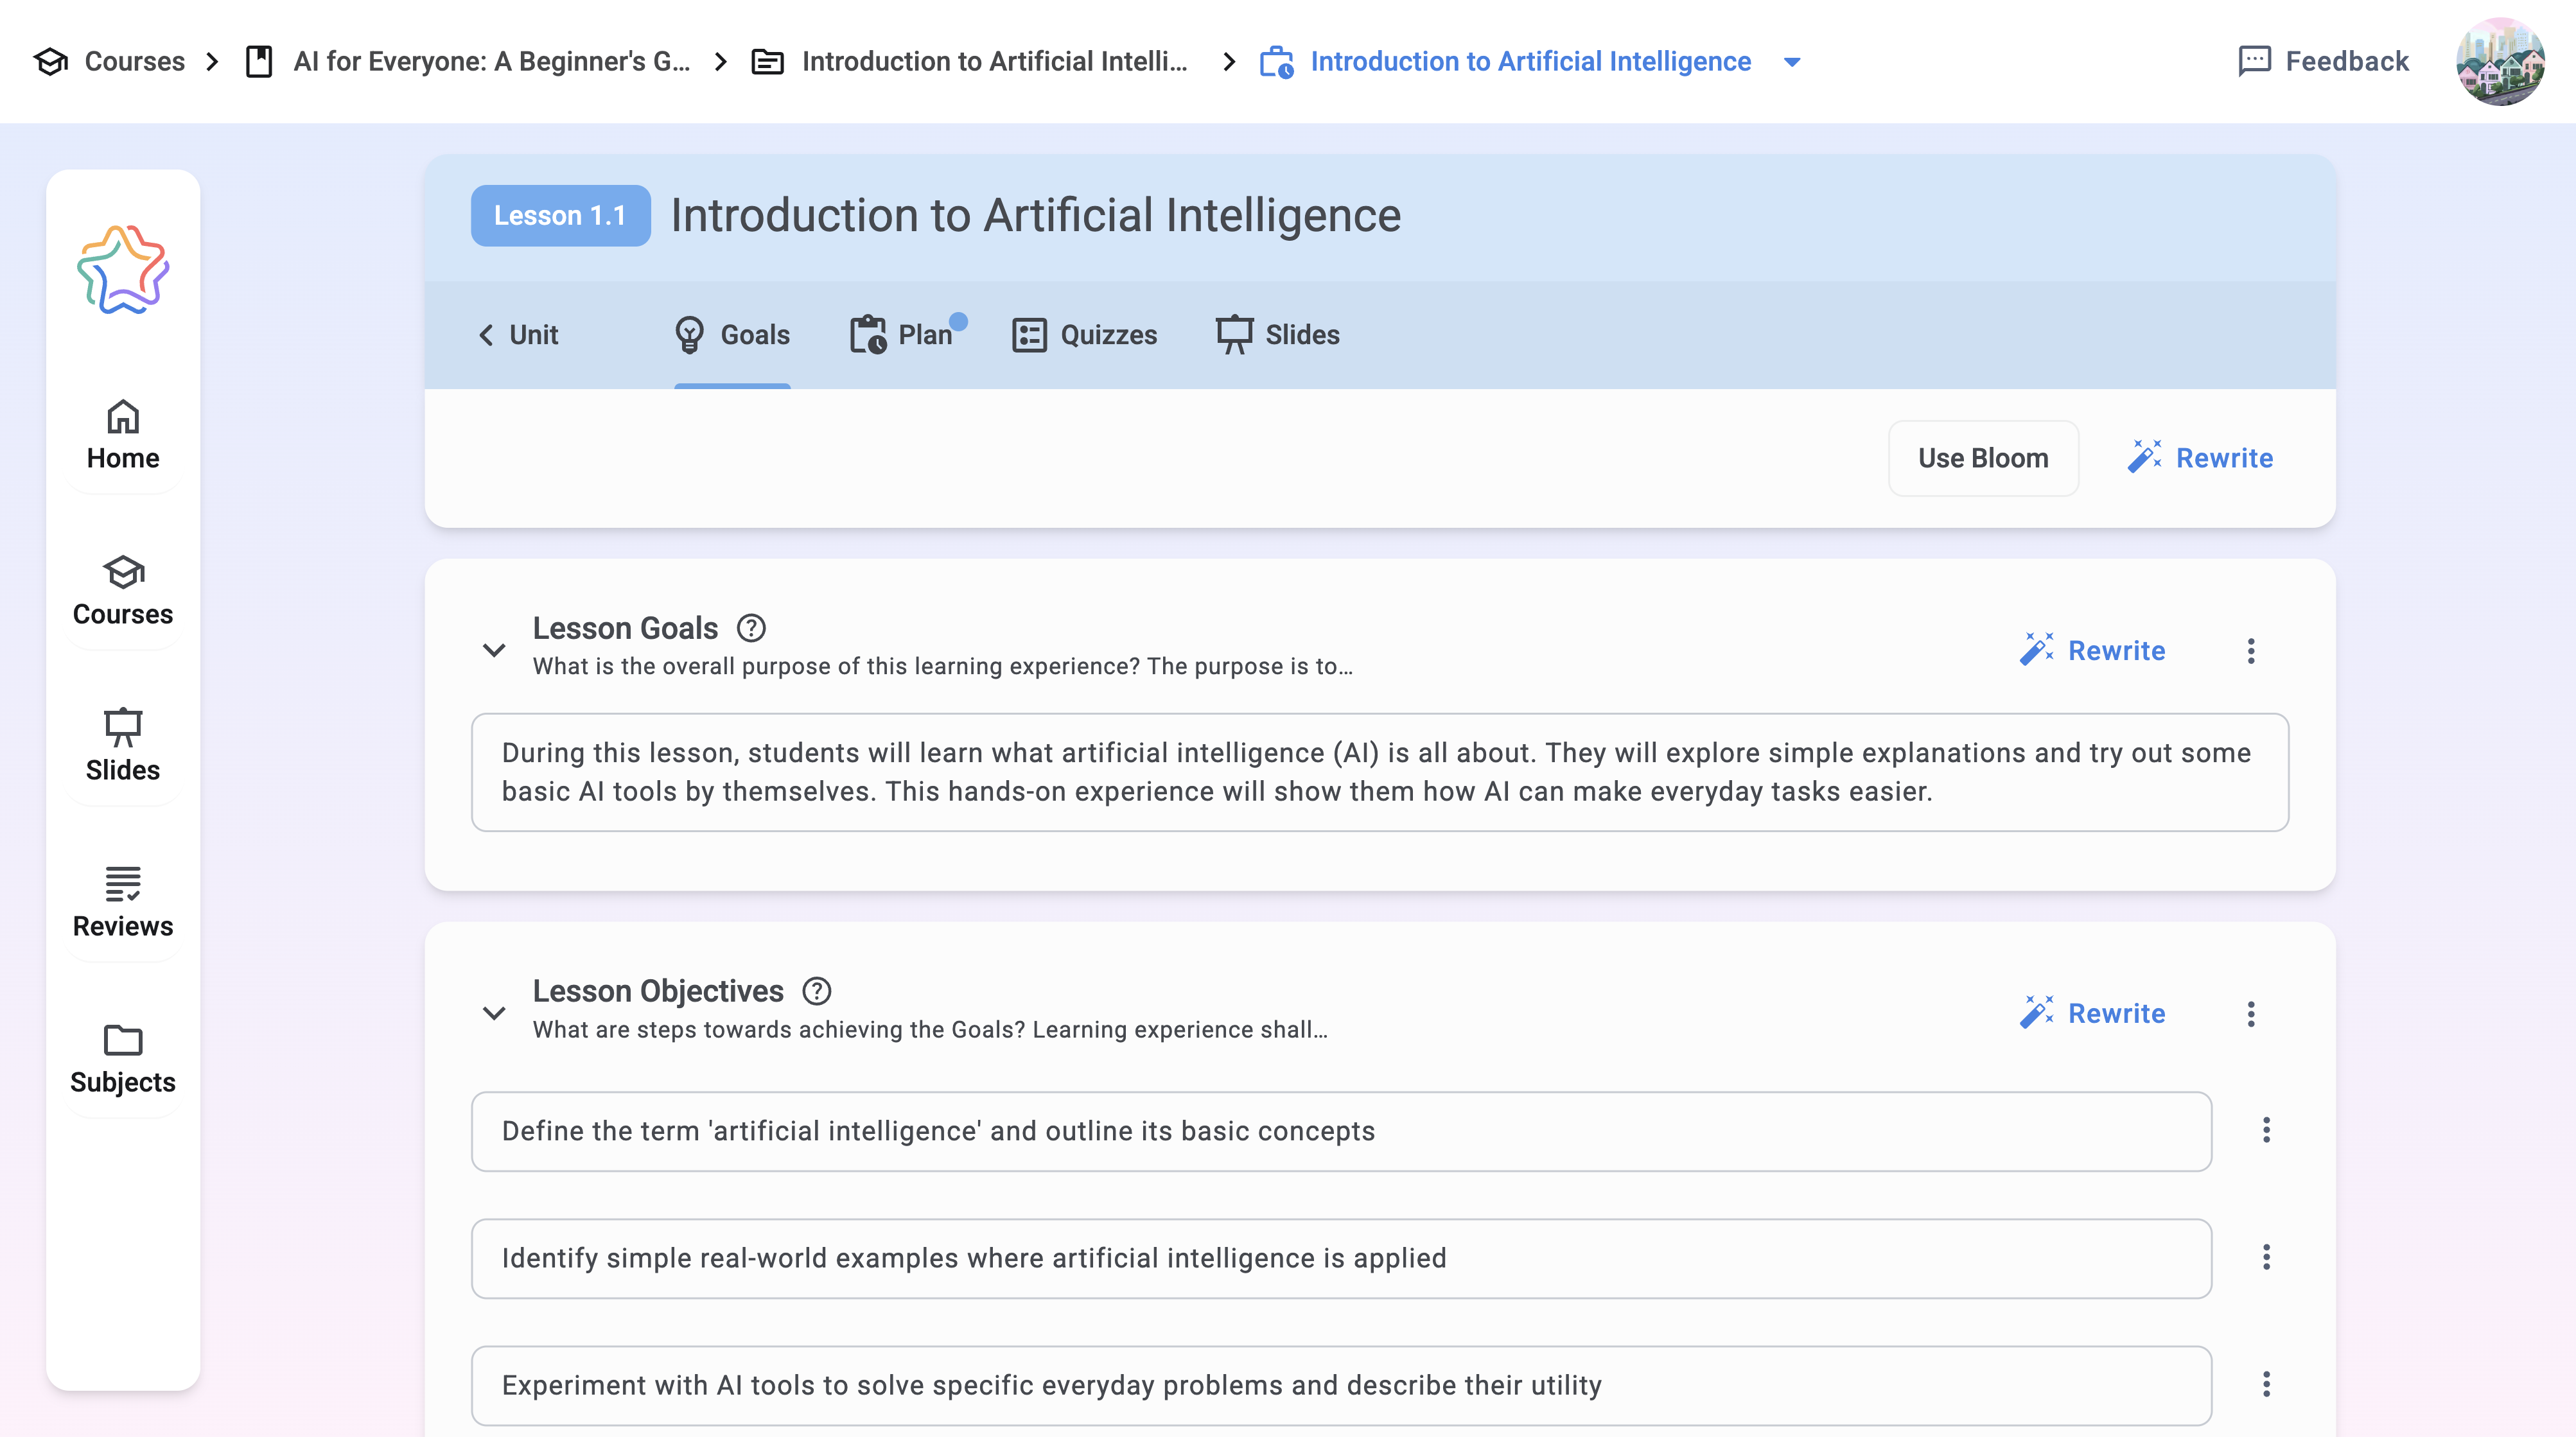
❗ Note: The AI Assistant is always at your fingertips. Whenever you need inspiration or ideas, simply turn it on and brainstorm with it.
Exporting and Printing Your Course Plan
Once your course plan is ready, you can download it as a PDF or Word document to share with your colleagues. You can also print it out and present it to your administrators. We've created a print-friendly layout for this purpose.
Upload your Course Plan (Beta)
If you choose to upload your course, you will be redirected to the course upload step.
❗ Note: Don't worry. We will never own your work, or use it for AI training!
Working with the document
Whether you start from scratch or unpack an existing course plan, you can work with it in the same way. You can edit learning expectations, units, and lessons manually or with AI assistance. You can also create lesson plans, quizzes, and presentations, as well as restructure and reorder units. You can also add new units as needed. Once your plan is complete, you can export it as a PDF or Word document or print it in a clean, presentation-ready layout.